

5 ways to use locking stitch markers
We all know about round, solid stitch markers. They’re the classic ones that you can make out of a bit of string that most of us have encountered while knitting. However, locking stitch markers are available on the market, including at our shop. Are they just for show, or do locking stitch markers have real uses?
This post contains affiliate links. If you purchase something through this links, I'll receive a small commission at no cost to you. All affiliate links are clearly labeled with the text (affiliate link) next to them. Thank you for supporting my work and for reading!

To preface, let me define what I mean by a clasp-style locking stitch marker.
We at Aimee Sher Makes have a strong preference towards this style of clasping stitch markers, where the clasp is nice and large. You can use it both as a regular stitch marker, which fits up to size US 15 / 10 mm needles, and as a locking stitch markers.
For those with mobility issues, we find these are easier to open and close than the lobster clasp style markers. Once they’re open, they stay open until you close them.
You also don't have to buy fancy designed locking stitch markers. Inexpensive ones do just as well, so long as you have them in a few colors so you can differentiate them for different uses. We also really like metal lightbulb shaped ones, like these from KnitPicks (affiliate link).
This makes them very versatile for a variety of uses. So let’s get right into it.
Use locking stitch markers as section markers while knitting
We love these for marking off any lace, cable, or raglan sections to mark increases, decreases, or other stitch pattern changes.
Patterns won’t always tell you to mark sections off, but we love to mark off repeats of lace or cables.
Since I have young children, I’m constantly picking up and putting down my knits, and I often lose track of where in the row I am.

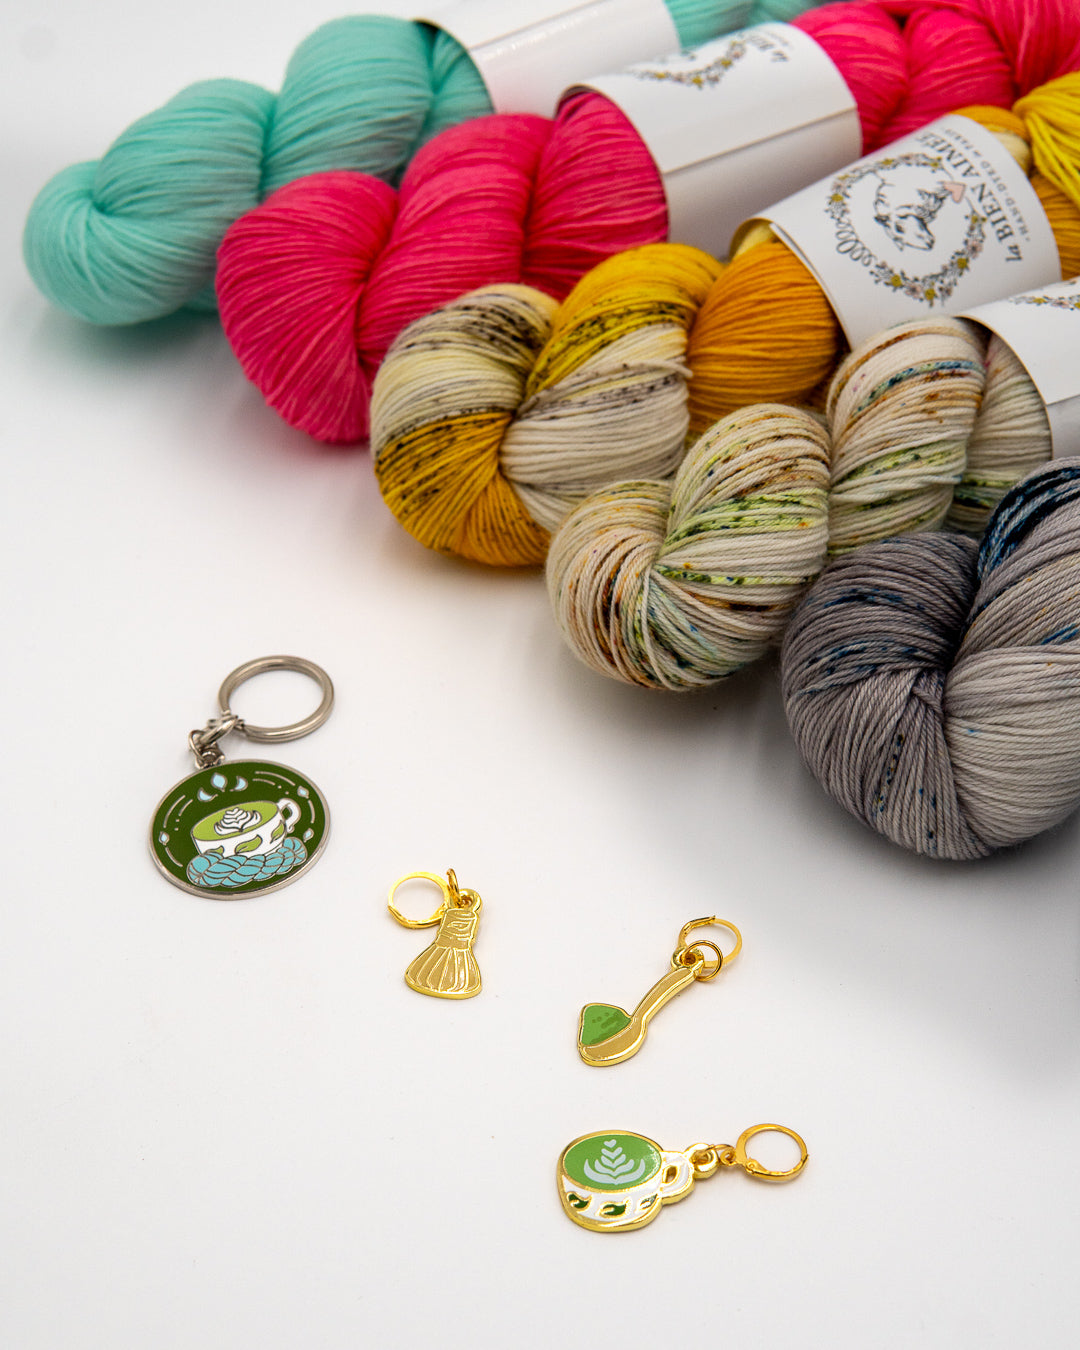
These stitch markers are marking the diagonal and horizontal sections apart from the vertical markers on this armhole. The matcha set is coming May 10.
You can choose a style of markers to use as a beginning of round marker, for example, and then use the other styles for section dividers.
Personally, I like to use one unique marker for the beginning of round (BOR), another unique one (or two, depending on the pattern) for the sides markers, and then other random loose markers for any stitch pattern repeats.
Another plus to this method is that you’ll be about to count your lace repeats very clearly after difficult sections to make sure every repeat was done exactly the same way.
Count your cast on stitches in groups
When casting on large numbers, above 100, I often lose count. And every time I count the whole group, I get a different number!
One way to reduce mistakes for casting on long strings is this:

This way, when I’m done casting on my 256 stitches (or whatever, lol), I can go back and count each group on 100 at a time. Sometimes, I’ll even place markers every 50 stitches to be extra sure. It depends on your needs and what kind of struggles you have with counting, but big easy numbers like 25, 50, and 100 are good places to start.
Mark sections for a tricky pick up
During finishing, designers like myself will often ask you to pick up and knit stitches along many edges at once for something like a neckline. You’ll need to pick up from vertical, diagonal, and horizontal edges.
All of these edges will have different pick up rates, and it can be tricky to keep things counted and symmetrical.
I always tell my students to mark off each of these sections, so that you can pick up precise amounts between the markers and get the left and right sides symmetrical. The way you do this is to just use locking markers to separate each section on the main fabric, so you can visualize the pick ups between them better.
Another bonus: if a particular area isn’t having the effect you want, once all the stitches are picked up, you’ll know exactly where to make the changes once you start again.
When you need to knit two identical somethings
When I am knitting things that come in twos, such as socks or sleeves, I often need to count rounds or decreasing/increasing precisely.
If you aren’t a big fan of the two-at-a-time method (and I’m not), and you’d rather knit one at a time, you can utilize removable stitch markers to increase the chances of your two something’s being identical.
When you knit your first piece, if there are decreases or increases, you can mark them with your removable stitch markers. Then, for any knit even sections, you can mark off every 10 or 20 rounds/rows or so.

Shown here is our teapot marker. On this pattern I worked sleeve decreases every 8th round 8 times, then I started a new section where I work every 7th round 3 times. I marked the start of this new section with the teapot marker as a unique marker to keep track.
When you move on to your second piece, you can remove the first marker from the first piece as you work the first increase or decrease on the second piece. For every stitch increased or decreased, you can move a marker over.
Then, for any knit even sections, you can transfers the markers to the second piece as you complete those round or row counts as well.
When you are all out of markers, you are done and you will have knit two identical pieces, because you marked off every increase or decrease or groups of rows same way on both pieces!
Use them as stitch markers ;)
Finally, I use them as regular stitch markers anywhere else you might want a round stitch marker. Anywhere you can use a stitch marker, you can use these removable ones.
Ready to try removable clasp style stitch markers that bring a bit of style and pizazz to your knitting? Try ours today!
Leave a comment
This site is protected by hCaptcha and the hCaptcha Privacy Policy and Terms of Service apply.