Lace knitting for beginners: how to start knitting lace
For relatively new knitters, knitting lace can feel like a huge barrier. But you may find lace knitting to be easier than you think, after you try it!. After all, all knitting is just knitting, purling, and variations on those things.
I've got tips here for lace knitting for beginners, so that you can get a jump start on learning!
I use affiliate links in this post. If you purchase something through this links, I'll receive a small commission at no cost to you. I clearly label all affiliate links with the text (affiliate link) next to them. Thank you for supporting my work and for reading!

The great majority of lace knitting utilizes knitted increases and decreases. If you know how to work knit stitches and purl stitches, these basic stitches and variations on them will get you on your way to knit lace patterns.
You need to know:
- k2tog (knit 2 stitches together, a right-leaning decrease)
- ssk (slip, slip, knit, a left-leaning decrease)
- yo (yarn over)
Once you learn these techniques, you are ready to knit lace! Seriously!
By utilizing different ways to use these stitches, the yarn overs create delicate eyelets. These little eyelet holes form the core of lace stitch patterns, and they are really just are just tiny little holes (on purpose, I promise). Some simple eyelet lace will really spruce up your knitting. And great patterns utilize lace sections in ways that really show your knitting artistry.
These decorative holes can create everything from simple lace patterns to more intricate designs.
If you can do those 3 things, you can knit lace!
Start Small At First
When we think about lace knitting, many of us instantly think of all over lace garments or shawls. Don't get me wrong, I find these projects that feature large swaths of lace fabrics to be stunning and impressive. However, we don't have to start there, if we don't want to.
I think that it's a good idea to start with small, digestible sections of lace than anything else! My favorite way to teach lace knitting for beginners is to offer them something in a small format.
I highly recommend starting with something like a sock pattern which has simple lace stitches, such as the Wisteria bloom, which is perfect for beginner knitters.

When I talk to new lace knitters, they always bring up blocking their lace as a mental barrier. They often tell me that this is holding them back from trying their first lace knitting.
The really good news is, you don't have to block your socks. Not really (read about why you don't need to block socks on my friend Lauren's blog).
You'll need very minimal products to block these types of projects: some water and some kind of wool soap. Really get the lace wet, letting the fibers on the project relax, which is a crucial step. You should not skip this step. Lace looks like a big crumpled pile until they get wet!
The structure and format of a sock make them more or less lay nicely. Don't pin them whatsoever. Worry about that on your next lace project.
Small scale projects for lace knitting for beginners.
Try something with just a small section (shown above), or a lace panel (shown below). You'll get used to working lace repeats, but never for very long. I've designed a pattern featuring a lace panel, shown below, called the Oolong Socks.

To get used to all over lace, try the lace section style sock, like the Wisteria Bloom Socks shown above. Meanwhile, for long stretches of plain stockinette stitch between the more difficult lace sections, try a lace panel sock.
After you make something like the Oolong Socks (green socks shown here), soon you'll be zooming along in no time. Take the same principles or even the same lace patterning to a bigger project, like the Oolong Tank. The Oolong Tank has been a very popular choice amongst my customers. I use lace panels a huge variety of ways, as the placement of them can create really different effects.
Charted Knitting
Many lace knitting stitches come with written instructions, but even more come charted only. Don't be scared of charts. However, if you are worried, try any of our lace patterns that include both charts AND written alternatives.
Charts can be shown both in the round, or knit flat. To find out what direction you're reading from, find the number depicting the row count, typically to the right or to the left of your chart.
For example, see below, a pretty typical knit in the round lace knitting chart. It's knit in the round in this pattern, because all the numbers for the row count are on the right. This means that odd numbered rows will come from right to left, and even rows come left to right.

We orient the lace chart this way, from right to left, and from bottom to top. That's how your lace will look while on the needles. Once you work a few rounds or a few rows, you'll start to read your knitting to correlate the knitting with the chart.
If you are working lace flat, back and forth, you'll find that almost all the lace rows are going to be on the right side. On the wrong side, you'll simply work plain purl rows (for stockinette stitch) or knit rows (for lace that's in garter stitch).
After a few projects, lace charts become second nature in no time.
Count Your Stitches
I recommend to all lace knitters to start with lace panels (shown above in the chart), because they feature a limited number of stitches to work in each section. Place markers before and after the panel, and count your stitches after every section. When you work your even rounds afterwards, look down and make sure the round before was done correctly.
Start with a lace project where every round has the same stitch count. Some lace pattern repeats add or remove a stitch or two in some rounds or rows. That can get confusing really fast. You can definitely do it, but if you are a little worried, stick with a chart as shown above (it's from my Weekday Tee pattern).
This way, you won't have far to tink (knitting backwards to undo your work) to fix it. And soon, you'll advance enough on lace knitting skills to be able to drop down and fix it without going back. From the easiest lace stitches to more intricate patterns, I always try to count my stitches on every working row (that is, rows where the eyelets are worked).
When you'll need to block your lace and how to do it
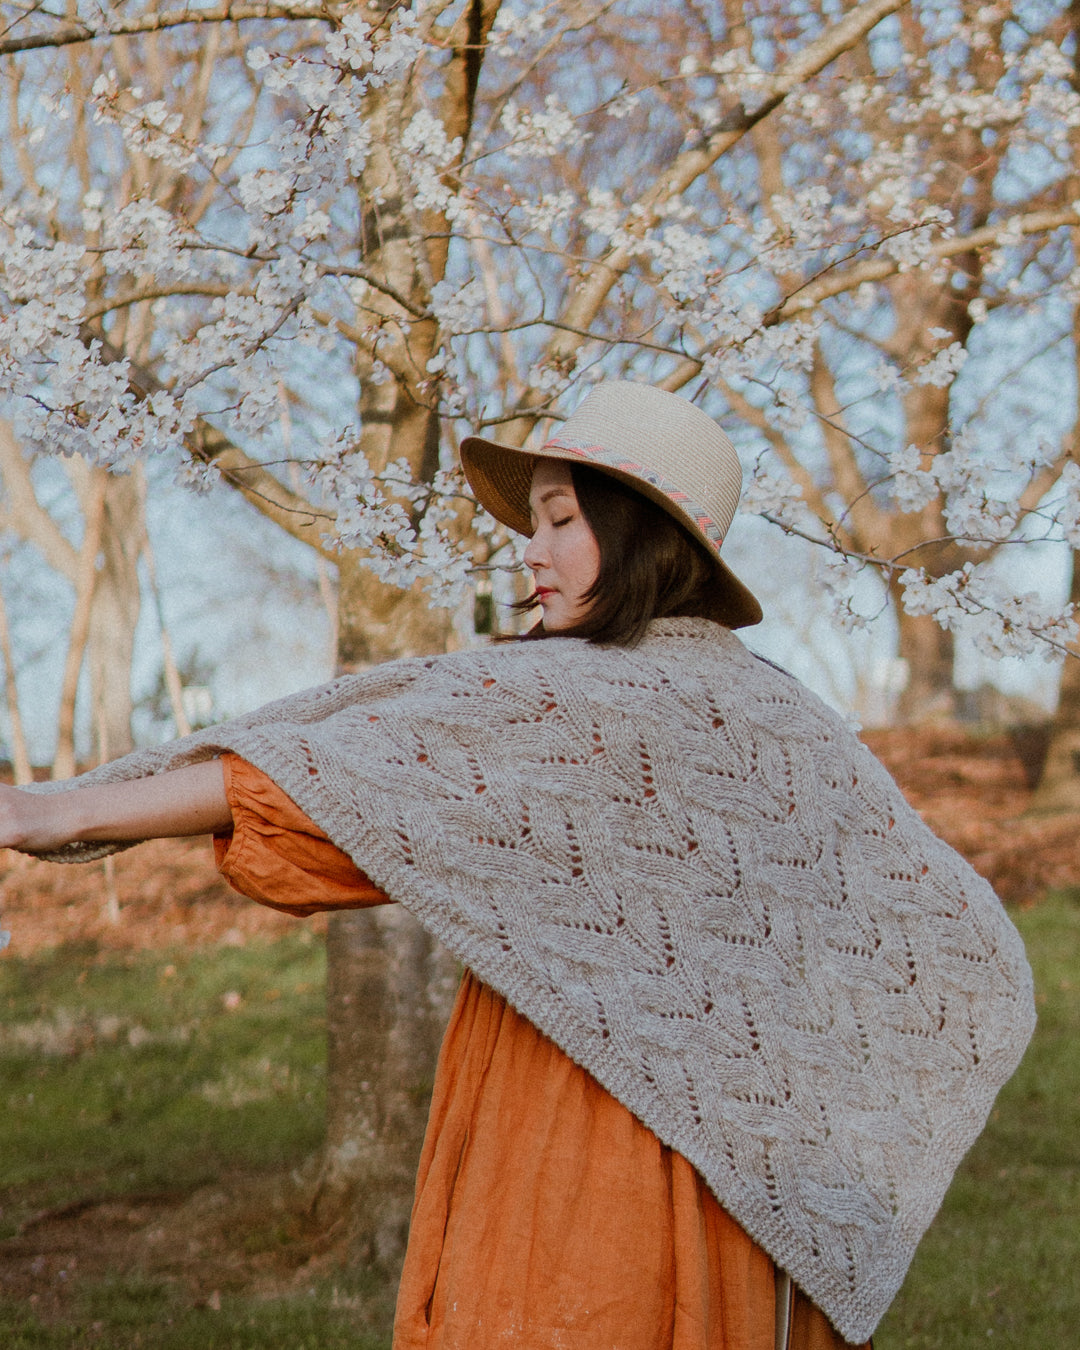
Once you have leveled up your skill level a little and you're feeling comfortable, start thinking about blocking some of your lace projects. Especially for large knitting projects with edges that you want to pin out neatly to showcase your lace. However, you won't need them for smaller scale things like garments with smaller lace panels or socks. The Nicole Shawl, shown below, is an example of a pattern I had to actually pin out as it was quite a large project.

Shown is the Nicole Shawl, which did need a bit of blocking and pinning.
Once you do get to the stage where you need to block a full on lace project, you'll need blocking boards and pins.
Get your project wet with water and a bit of wool soap. Soak everything for 15-20 minutes. Then, gently remove it carefully by lifting the whole mess out of the basin or sink.
Throw it in the spin cycle of your washing machine, or gently squeeze out the liquid from it (do not wring your knits, ever!). Then, place it inside a towel, roll it all up, and squeeze out excess water gently. For any larger projects that are mostly made of lace, like some sweaters and lace shawls, you'll have to do this just about every time you wash the project to open up those stitches again.
You can see that this pattern has alternated garter stitch and the different lace sections and garter stitch sections required a bit of pinning to be neat.
Special tools for beginner lace knitters
Now on to the special tools for pinning out....
The blocking boards, such as the ones by KnitPicks (affiliate link) create a smooth surface to pin into, so you don't damage anything you have your project on for blocking.
For pins, I recommend T-pins by KnitPicks (affiliate link) for lace. They are more advantageous for lace than the kind that has a comb shape (multiple pins on one object), because you can precisely pin out any scallops, picot edges, points, or anything else like that in your work.
You'll need to block for a really long time
You'll need to block for a really long time. This is because wool can take a long long time to form into their final shape and settle. We're talking, leaving it on the blocking board for a week straight amounts of time.
I like to go the extra mile, and remove all my pins after that time. Then, I'll leave my lace project on the blocking mat for another day or two to settle. Yes, I think this is time intensive, and for lace, if you want it to have that open, stretched out effect, you'll need to do it every time you wash it.
(This, by the way, is why I advocate that you never stretch out your garments to "block them to size"-- it's way too much work to do it every single time.)
Ready to try some lace knitting?
So, after all that, are you ready to dive in to lace knitting? Try any of our lace knitting patterns. Our pattern descriptions clearly mark charted only or written instructions, so you can start where you're comfortable!


Leave a comment
This site is protected by hCaptcha and the hCaptcha Privacy Policy and Terms of Service apply.