How to measure armhole depth for knitting and sewing
The armhole depth is a body measurement that is absolutely critical to fit when it comes to knitting and sewing garments alike. As a knitting pattern designer, I have been asked about this so many times by my customers and test knitters. So, here's a quick and dirty guide to help you measure armhole depth on yourself or another person. With this measurement in hand you can understand how a garment pattern will fit your body better and achieve a perfect fit.
How to measure armhole depth
First, you'll need a measuring tape, but a ruler will also work. You'll be measuring a straight line, not a curved one, as this is purely a measure of depth without curves. You might find this measurement easier to take with a friend, but it's doable on yourself also.
Here are easy steps to finding your armhole depth measurement:
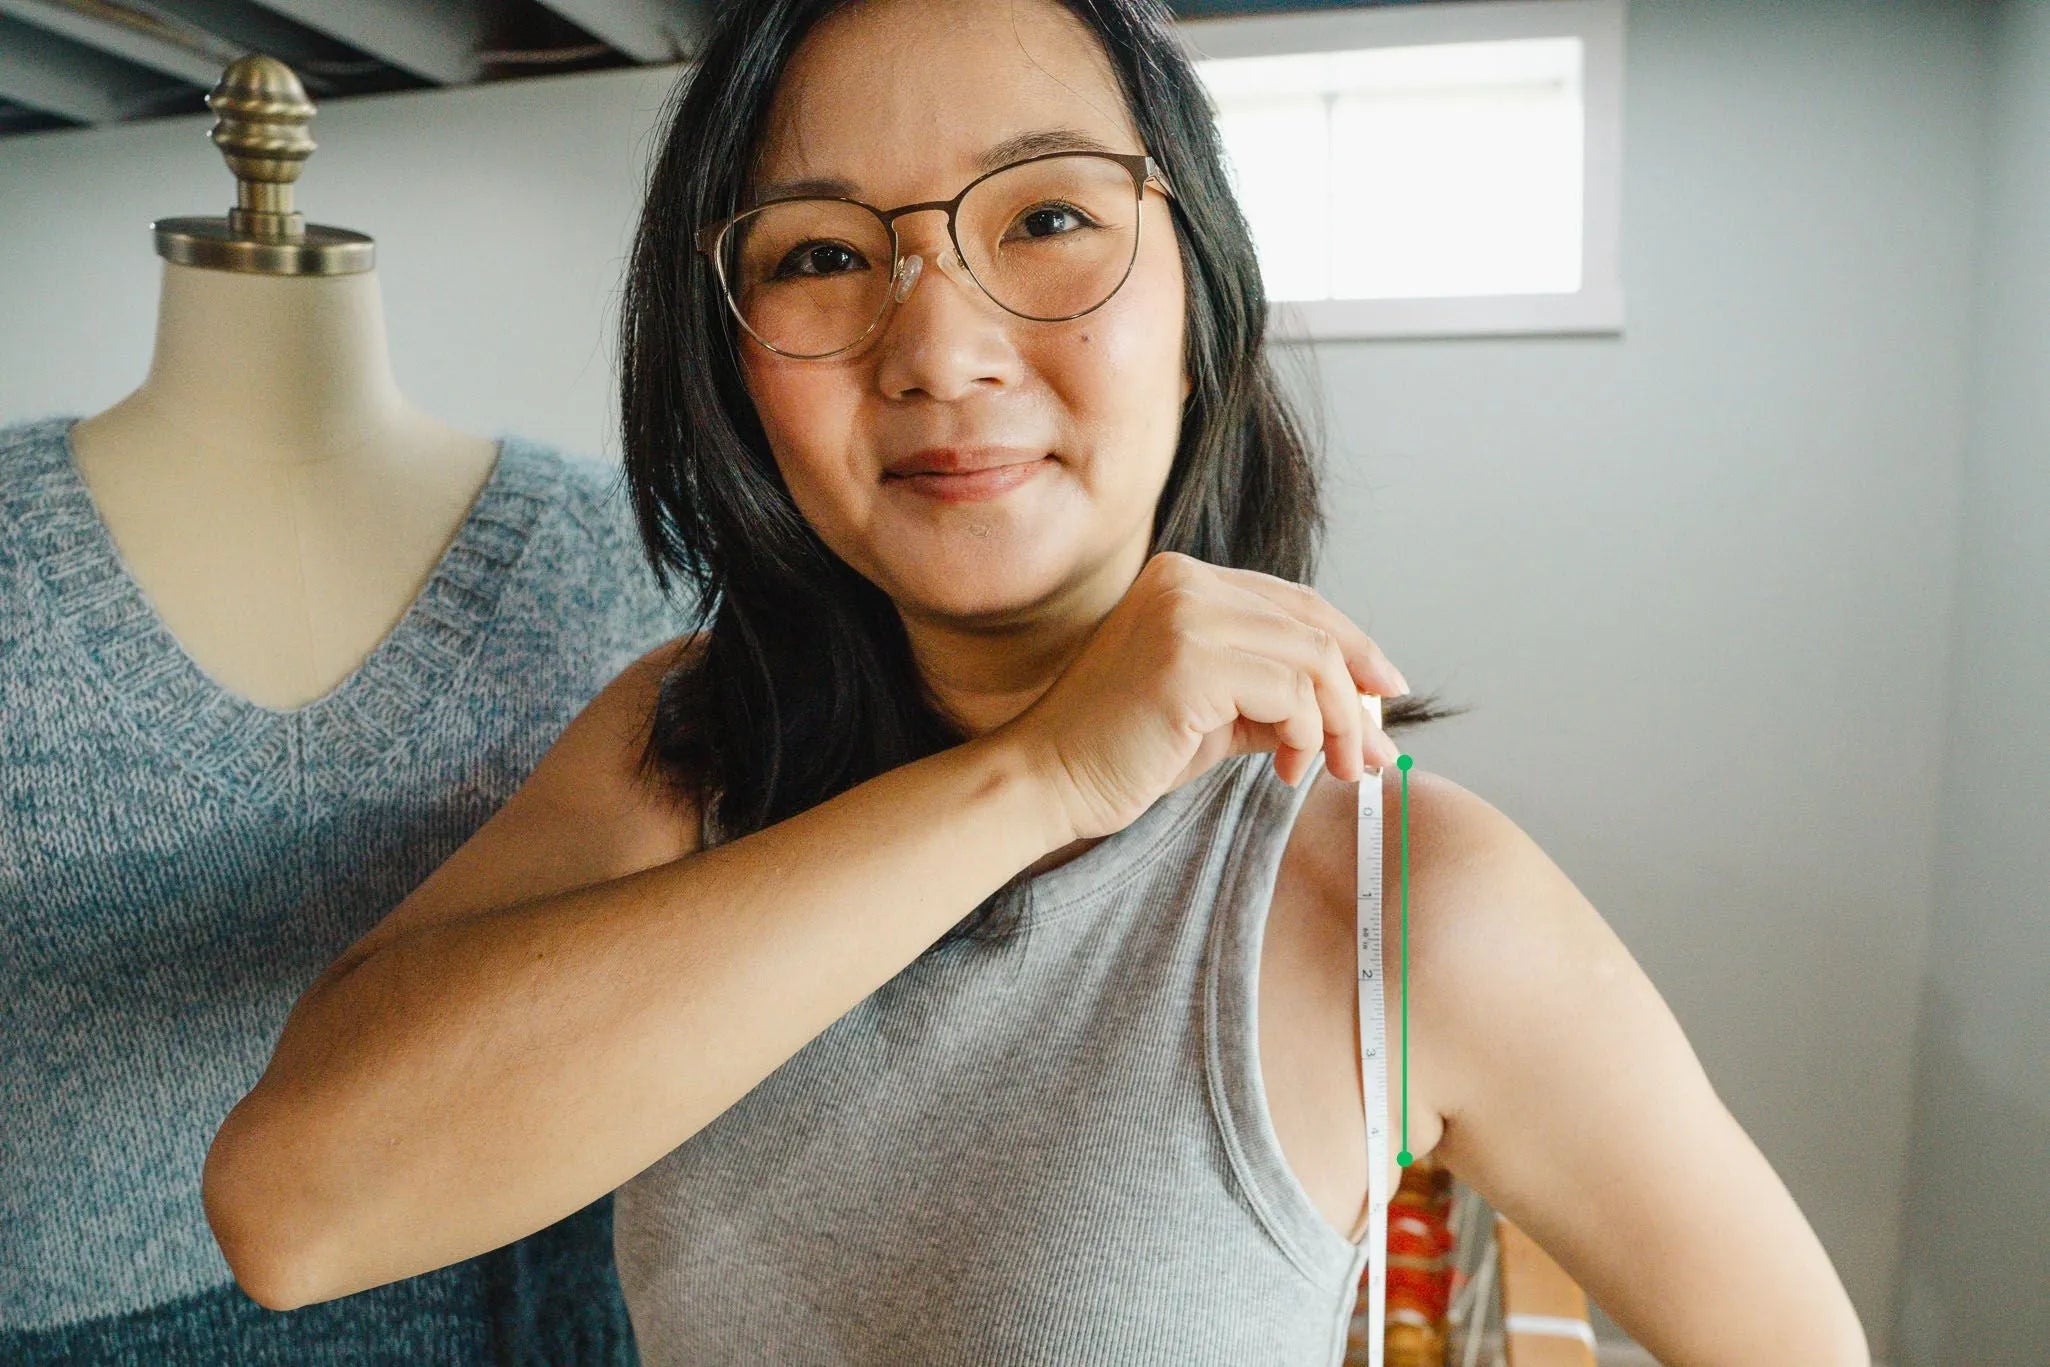
Always measure armhole depth on the front of your body, you'll want to start at the top of the shoulder, and then measure straight down to the armpit. Visually, be sure you do not curve into the armpit itself, but instead, you are measuring the straight length.

Positive and negative ease for armhole depth
After you take this measurement, you can now calculate the wearing ease (shown below on the tank top photo) for this area.
- For sewing: Measure armhole depth in your pattern piece.
- For knitting: The armhole depth should be given in the pattern.
Now, subtract your body measurement. That number, whether positive, negative, or at 0, will be your wearing ease for this measurement.

In this area for sewing, you'll want to have a good amount of positive ease. However, in knitting, I sometimes do see zero or negative ease, but strongly prefer having at least 1" / 2.5 cm of positive ease so I can move around and be active.
And as you can see, this measurement has nothing to do with the underarm bind off curve, as it measures only the armhole depth, which is why it's very important that you take a straight, rigid measurement and not one that curves under!
Note that this is a different measurement than the sleeve cap height, which is a topic for another article. In sewing, you'll also need the back armhole measurement as the two can be wildly different.

You can see in the above photo where I've marked the length of my armhole. Make sure you hold the measuring tape straight, as I do here, instead of curved around the body.
(On another note... yes, I am aware I did not line the zero up with the top of my shoulder, which is why it's helpful to get this measurement with a friend! It's really hard to see.)
Take into consideration the shoulder slope
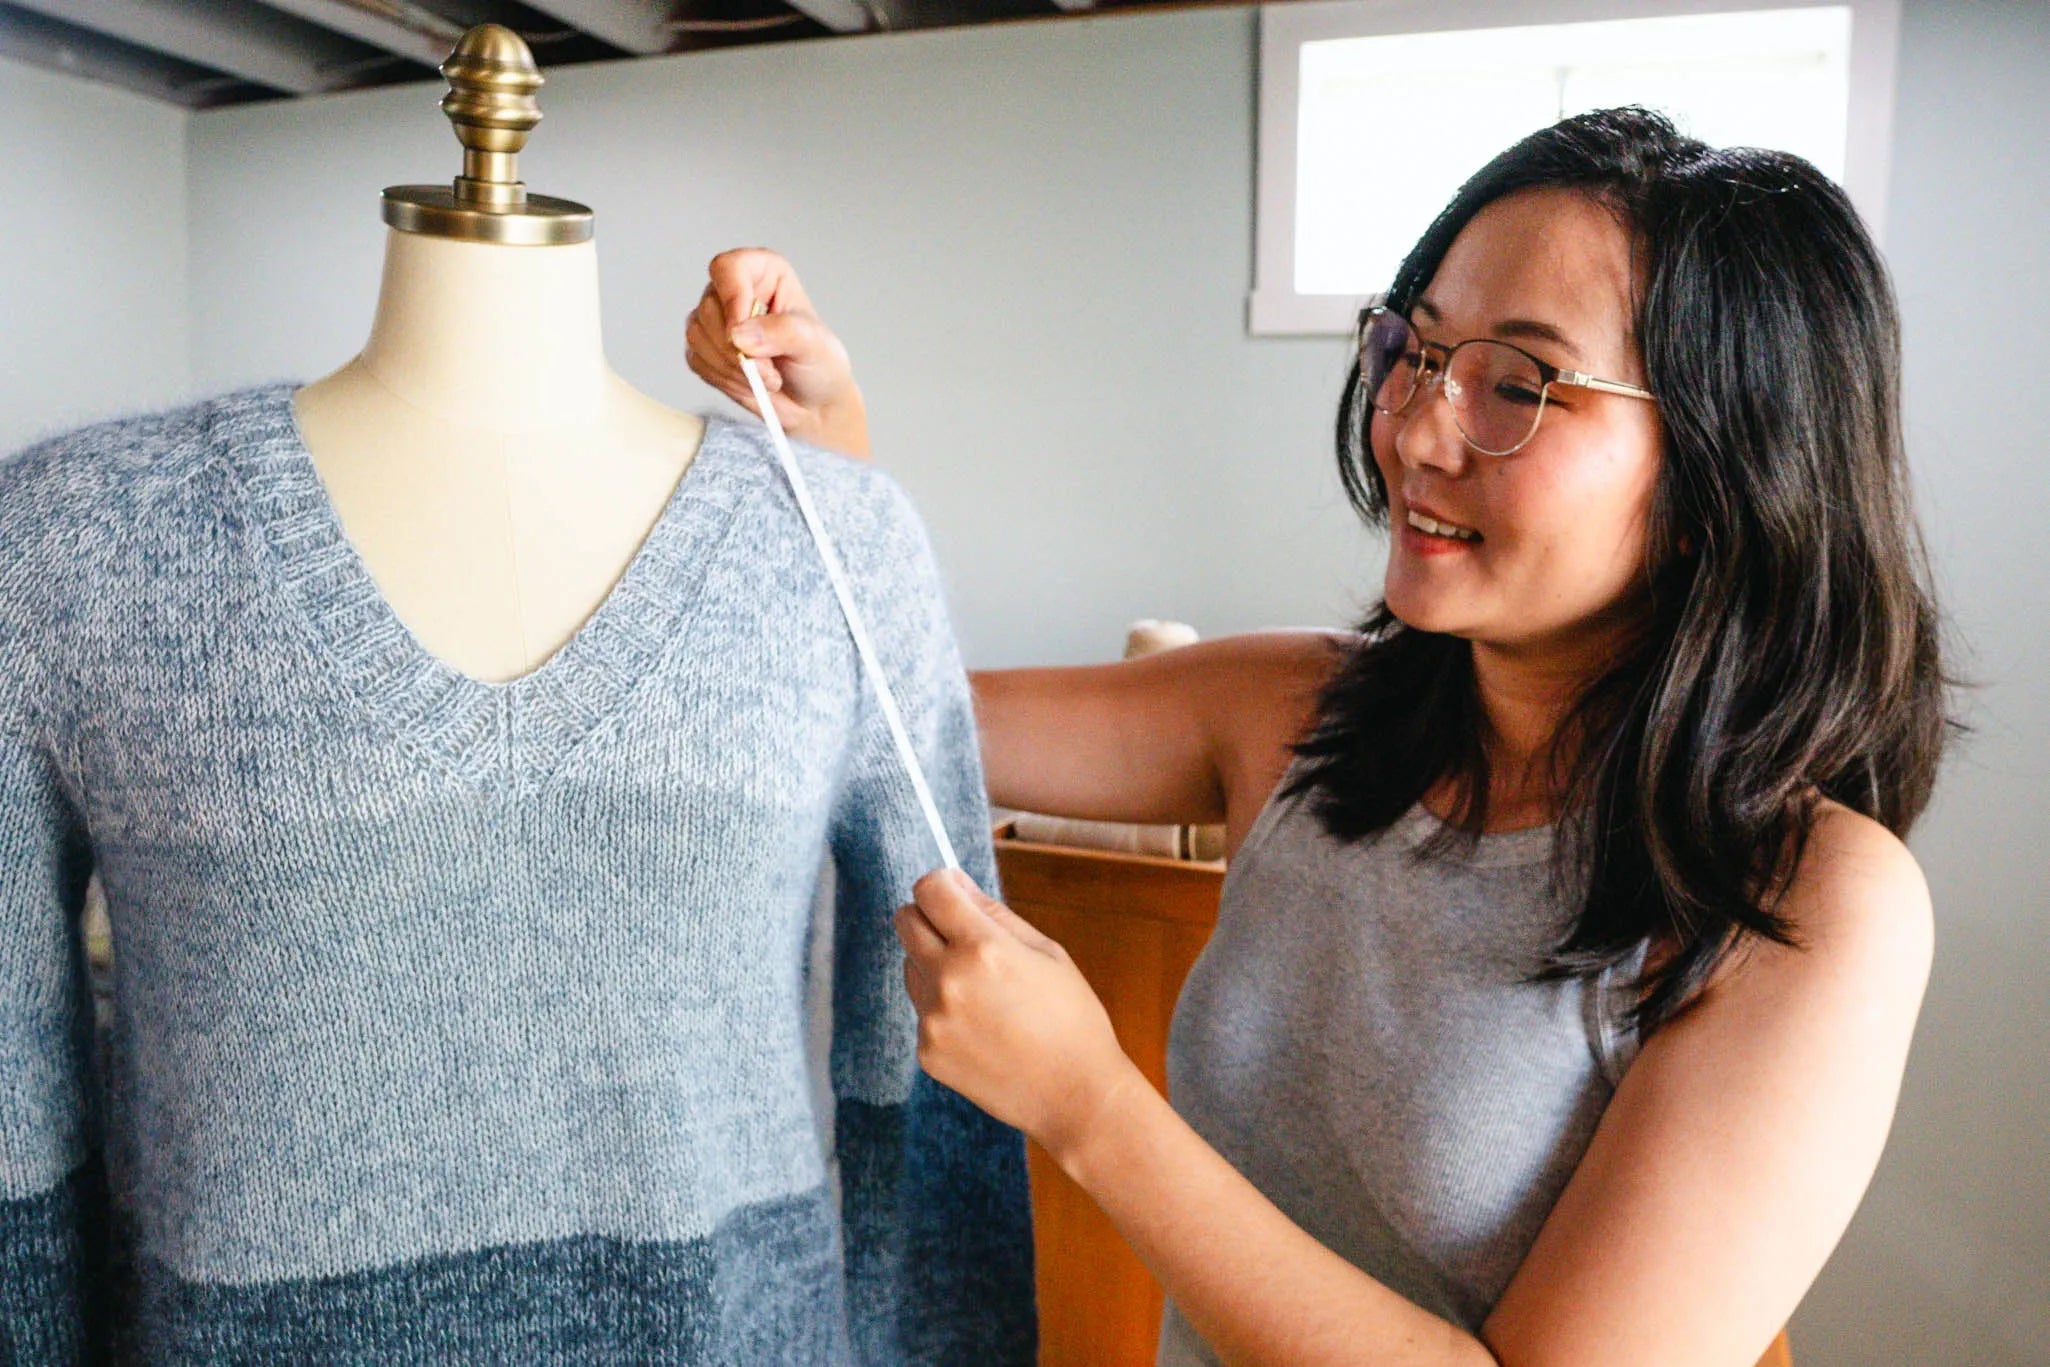
If you are working with any kind of raglan garment construction, you'll also want to make sure that you take into consideration the shoulder drop measurement. The raglan construction must cover both of these measurements in depth before it reaches the armhole area.
This shoulder slope measurement is taken from the neck point, on the side of the neck, straight down, perpendicular to the ground, to the height of the shoulder joint. It's pictured in green in the dress form photo above. On my sizing guide it's about 1.6" / 4 cm on every size.
This measurement will often be called a raglan depth, which will encompass shoulder slope + armhole depth.
It gets weird in standard drop shoulders
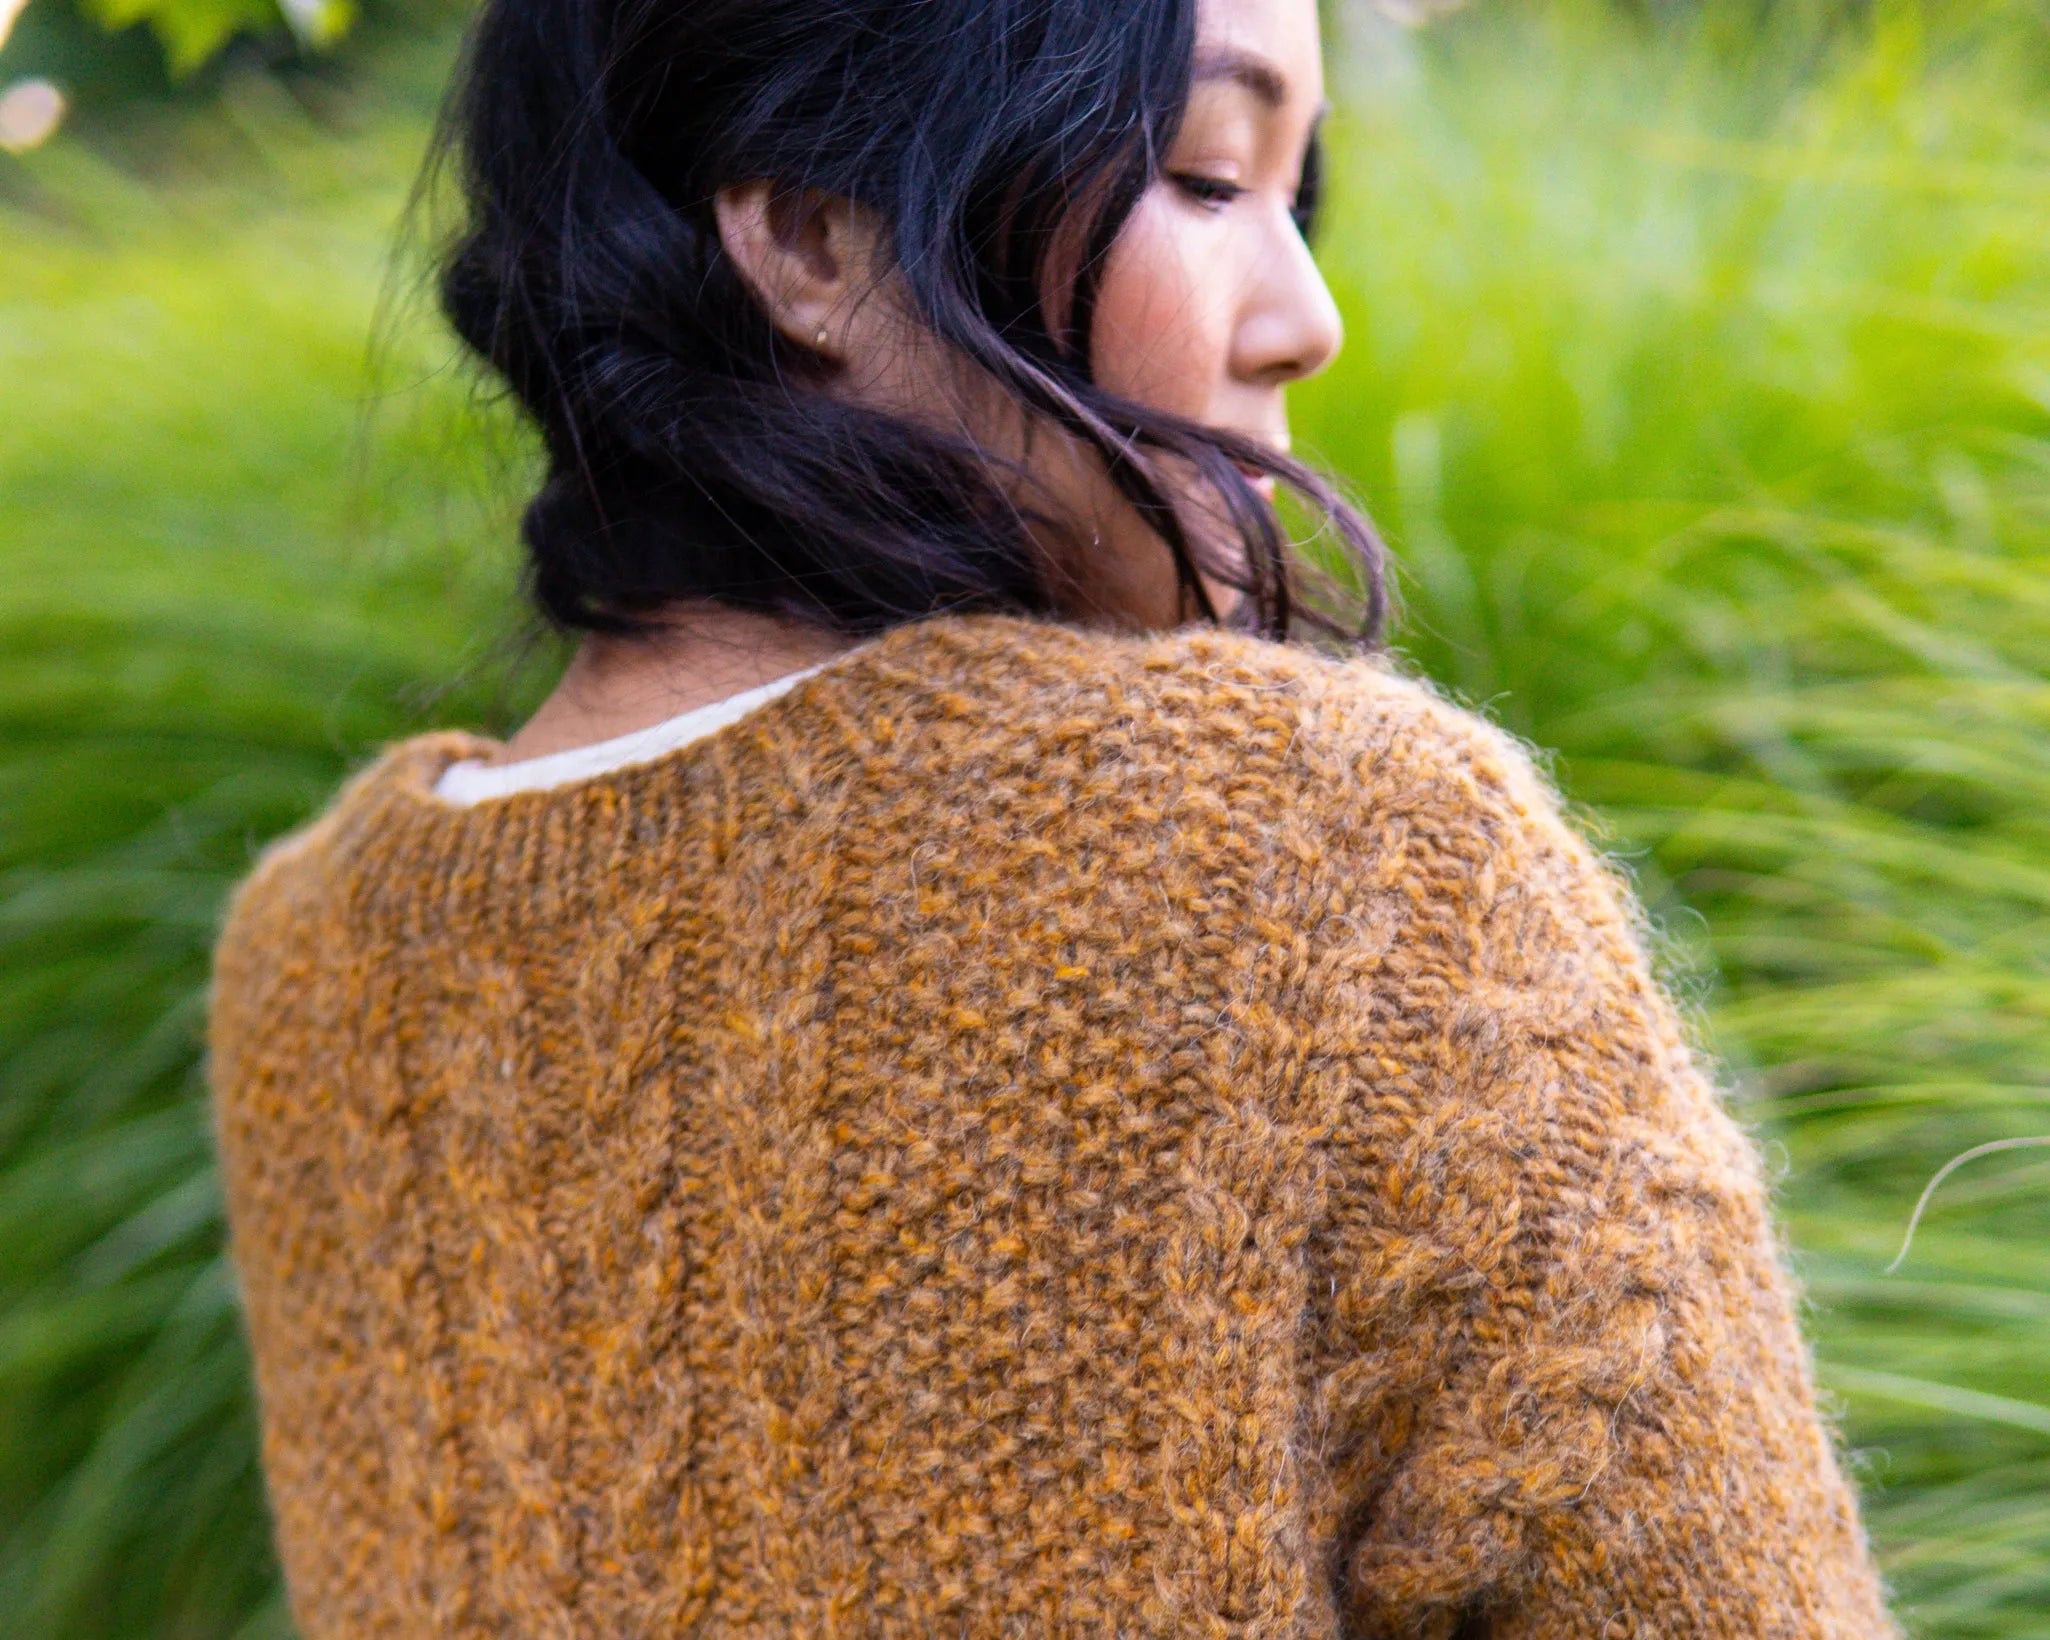
Directional Pullover, a modified drop shoulder, colorwork pattern
This measurement gets kinda weird and hairy in a drop shoulder construction. If you're making a drop shoulder pattern with no armhole shaping, the garment armhole may be suuuper far out from your shoulder, meaning that it may be smaller than you expect. The way to measure this is to measure your cross-shoulder width on the pattern, then measure the same width on your body, with your arms out in a T, so you can figure out where that edge will land.
Conclusion and reminders when you measure armhole depth
Though you can measure armhole depth with a tape measure, make sure to make sure you are taking a straight measurement, not curved!
Don't forget to comment below if you have any questions about this measurement and we'll try our best to answer!
If you're looking for more great tips for fitting a hand knit sweater, here are some articles you might find helpful:
- Armhole depth vs raglan depth (blog)
- How to choose a size for knitting (blog)
- How to choose a size for knitting (video)
- Lengthening and shortening raglan armhole (blog, knitting)
Pin this post:


1 comment
You did a very good job of explaining this topic! Thank You very much for sharing your insight into getting a more correct fit. It is very helpful to have it explained in detail in spite of having made items before but not in a while so sizing is a bit rusty. When not making item’s with sleeves all the time the numbers get forgotten on sizing and the inch difference in one direction makes all the difference of smaller or larger can make it fit well or not. The advice of leave an inch or so for ease was also helpful. Have a good day and Thanks again!
V
Leave a comment
This site is protected by hCaptcha and the hCaptcha Privacy Policy and Terms of Service apply.