

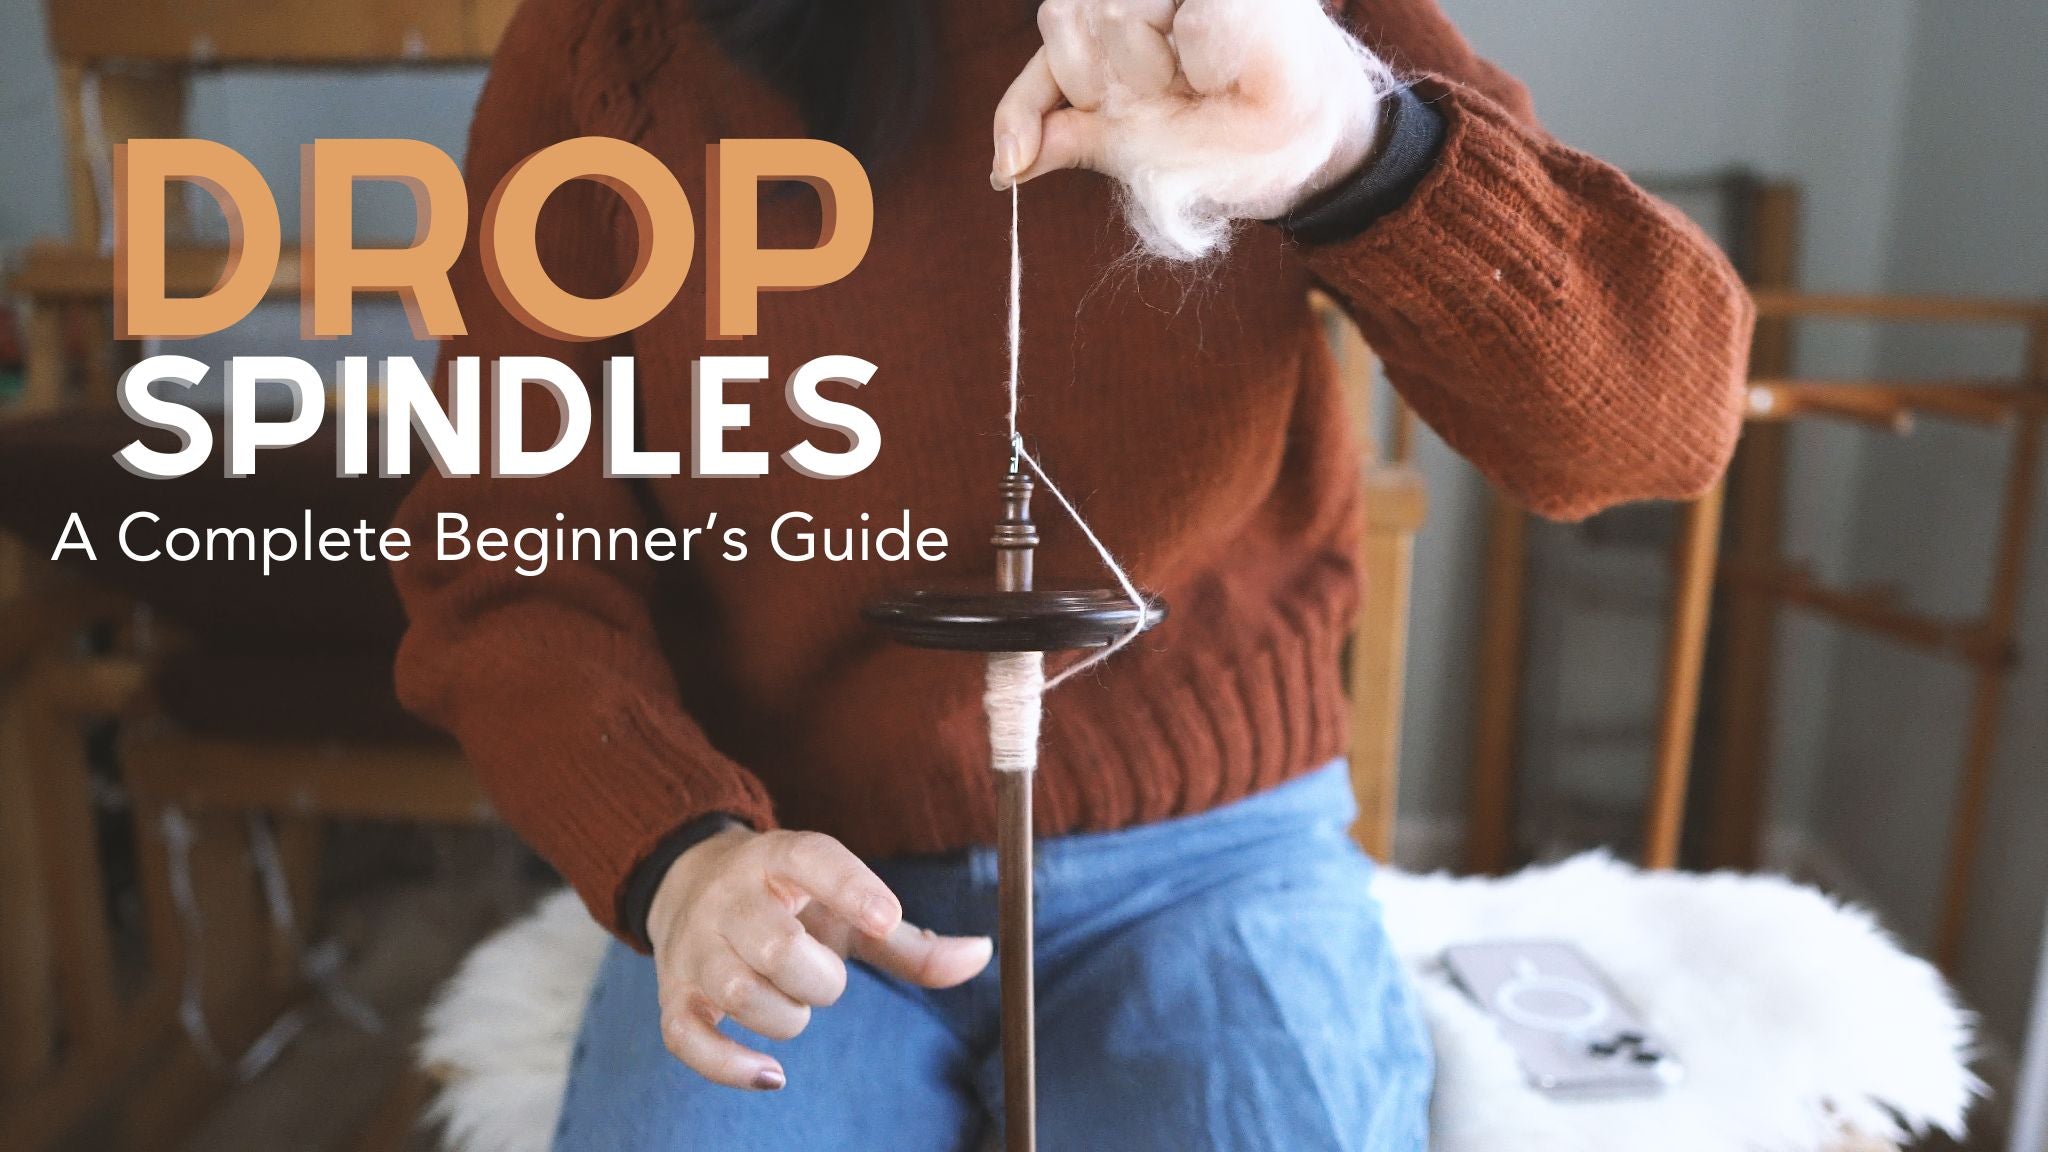
How to learn to spin yarn: a beginner's guide
So, you want to make your own yarn, the traditional way! Learning to spin yarn can feel like a confusing and overwhelming task. There are so many different types of fibers, and so many different tools! Do you start with a spinning wheel? Or a spindle? And what type of spindle? Do you use a supported spindle or a top whorl drop spindle? What even are they?
Before you learn to spin yarn, it's a good idea to get an overview of different tools, what is absolutely needed, and what's nice to have. In this blog post I'll go over the different tools available, and which I think are budget friendly and friendly to beginner spinners.
In future posts of this series, I'll be covering:
- How to spin with a drop spindle.
- How to ply yarn and low-cost tools to get there.
- Wet finishing techniques.
But before we go over these topics, let's take a look at a more broad overview of spinning!

Wool preparations for spinning
Let's get back down to basics for just a bit. The first thing you need to know is that wool can come in a variety of preparations. For thousands of years, we humans have turned plant and animal fibers into yarn, twine, rope, or string with tools as simple as a stick. We sometimes start with the raw fiber (such as a sheep's fleece), and sometimes with fiber that's been prepared further.
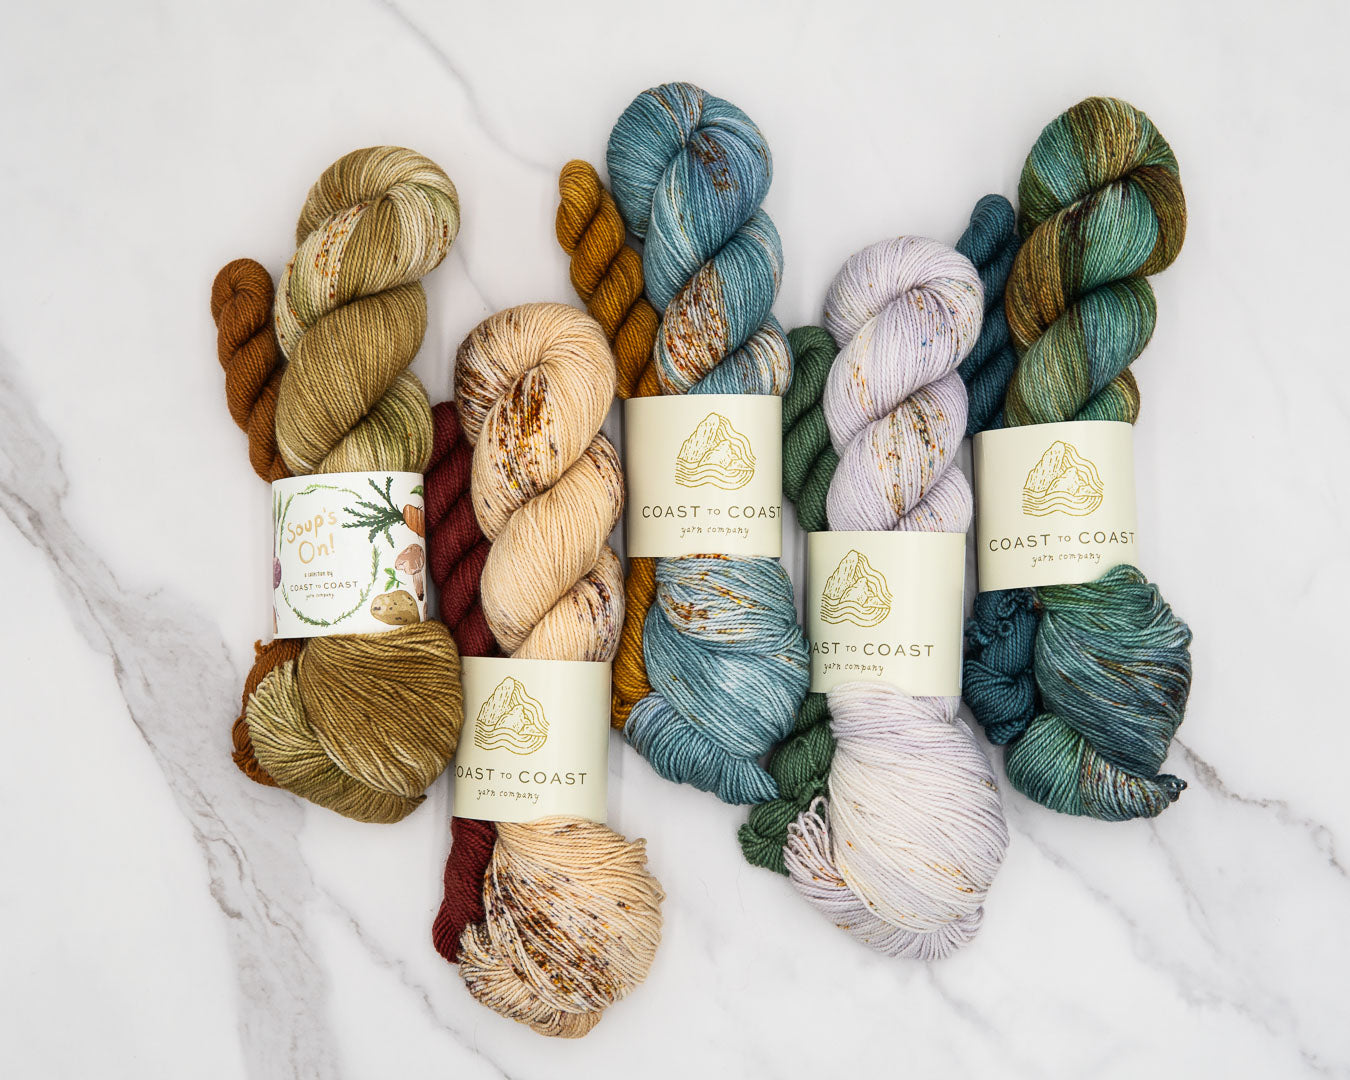
In the past few decades, gorgeous hand-dyed commercial combed top has really had a moment! You've likely seen it around. It may have even inspired your desire to learn to spin, because what's cuter than little bundles of hand dyed, handspun yarn with those cool barberpole effects?

A commercial top is wool, most often merino wool, that's been picked (loosened and pulled apart to be fluffy), carded (untangled and formed into an even web/sheet of fiber), and then combed (pulled through tines to create a perfectly parallel and aligned bunch of fibers).
A combed top is typically associated with a worsted style spin, which creates a smooth yarn with less air incorporated. A carded only fiber is associated with a woolen style spinning, which creates a less organized and more airy and lofty spin.
You can spin woolen on a worsted prep, or spin worsted on a woolen prep. I know this is confusing, but typically I like to describe both separately. Ie, "I combed this on hand combs, then spun it with a supported backwards draw, letting twist into the fiber supply for a semi-woolen spin."
Additional texture can also be achieved with add ins in both of these preps. Shown above is yarn I spun from a combed top with recycled threads added in.
For your first yarn, I don't think it really matters if you are using carded or combed fiber.
How fiber becomes yarn
So, spinning. What is it? Spinning is when we add twist, kinetic energy applied on an twist angle, to fiber.
This potential energy holds the fiber together, and allows it to be stable as a strand. This can be achieved (albeit really slowly) in just your hands by twisting a bit of fiber in the same direction over and over. We have a huge variety of tools available to us today to speed this process up, including drop spindles (and all the spindles that fit under this category), supported spindles (here too), and spinning wheels (a plethora of spinning wheels).
To spin, you'll attach a bit of fiber to your tool using already formed yarn for strength (called a leader yarn). In our upcoming tutorials, we'll go over how to make your own so you have a continuous strand.
Then, you'll need to apply twist to this fiber using your tool.

You can see this process happening in this picture above, where the fiber becomes yarn in the zone that we call the drafting triangle. It enters the triangle as fiber, and leaves as yarn.
This can be done with both hands where one hand is pinching and controlling the twist entering the triangle (a worsted draft), or with one hand on the fiber supply (a woolen draft), or something like a supported draw, somewhere in between.
Once fiber has been twisted into a strand, we call this strand a single. Because this stored potential energy will want to untwist on you immediately to go back to a "neutral" mode, you'll need to secure the twist into the fibers somehow.
This is done with setting the yarn, or but we can take it a bit further. Most yarns we use today are also plied yarn, where we twist the single strands (called singles) together in groups of 2 or more, and twist them the other way.
This counter twist holds all the fibers together and becomes a stable and sturdy yarn. And this is a great place to start for beginning hand spinners.
Enjoy the world of color while you spin!
So far, we've colored texture and spin styles, as well as touched a little on added texture. But asides from these dimensions, there's also color in spinning. A 2-ply yarn is a great place to start exploring all the possibilities. This is one of the most attractive parts of spinning that brings in so many new spinners, in my experience.
Do we introduce dyeing when the fiber is still in fleece/lock form before it's carded up? Below, you can see an example of fiber and yarn I spun from it where the colors have been carded up together.

Or do we dye when it's a combed top, as the picture below? The different colors painted onto different parts of the combed top resulted in the two plies having vastly different colors, creating an attractive barber pole effect.
More experienced spinners can manage the colors and how they show up in a vast range of ways that create interesting effects.

And finally, of course it's possible to introduce dye after the yarn has been spun, which is how most worsted spun commercial yarn is made!
As you can see, when you learn to spin you learn a plethora of things about your yarn and the way that it shapes our making. These different fiber characteristics, prep, spinning technique, and color techniques creates a whole universe of possibilities and endless variation.
Now, there are different spinning techniques to learn, such as draft method, amount of twist, controlling thickness to make thicker yarns or thinner yarns, etc etc. But for now, just focus on getting some twist in fiber without dropping your spindle, and the rest will come eventually.
What tools do I need?
At minimum, you'll need a spindle and some fiber to get started on learning.
Should you choose a top whorl drop spindle? Or a support spindle? It turns out, there's no such thing as the "right way" for beginners because in history, people have learned to spin yarn either way with zero access to the other way in their region. And everyone learns differently.
Experts like Abby Franquemont, the author of Respect the Spindle, recommend purchasing one of each to see which one you find easiest to work with. However, in my experience, there seems to be a LOT more online resources for drop spindle spinning beginners than support spinning, so if you are learning on your own at home, you may find drop spindle a little bit of an easier start just for that reason.
Spindles can cost anywhere from $20-130 (seriously), while new spinning wheels start at $500 or more. And I'm here to tell you that you don't have to spend a ton of money to get started. You can start with a lower cost spindle, for sure.
As always though, I do have opinions on what you should purchase. To me, the ideal beginner drop spindles have the following qualities:
1. You should get one that's pretty chonky, like 50-75 gram for drop spindles. The weight of the spindle is important because if it's too light, it'll spin too fast for you to keep up with drafting. One that's too heavy, in a drop spindle, will break your yarn if you can't add just the right amount of twist while it spins.
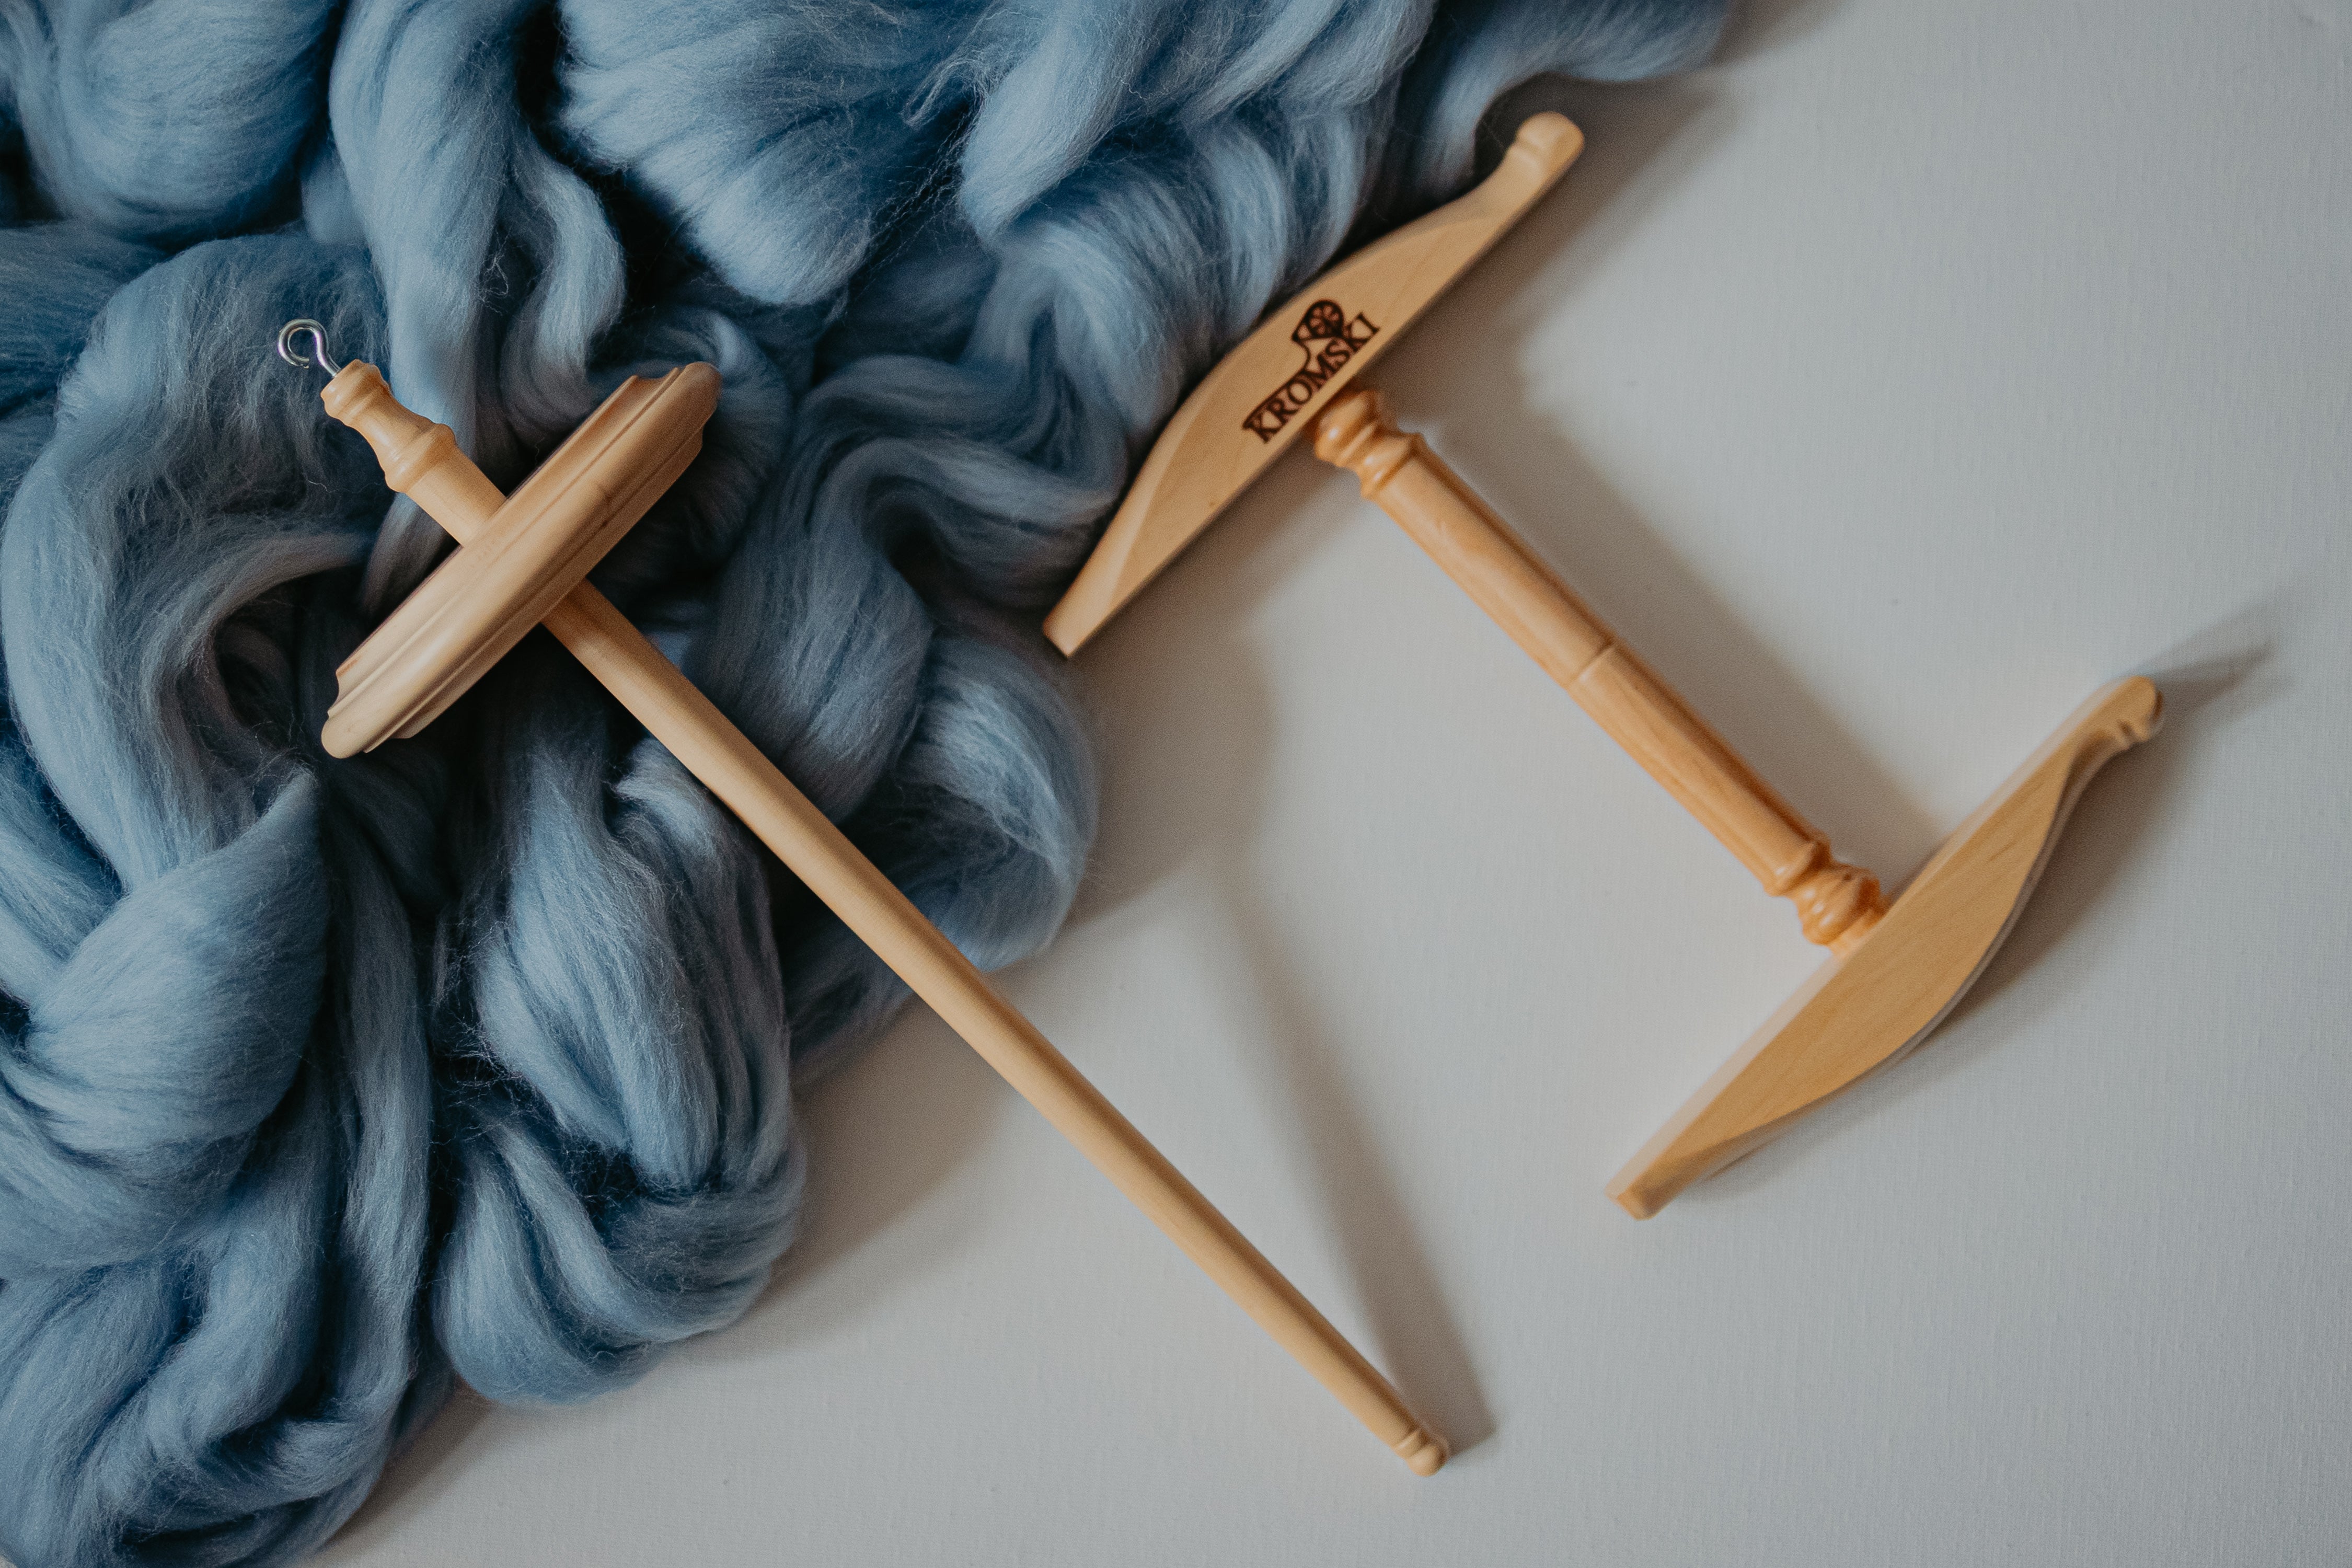
2. You should not buy something really expensive, because you will absolutely drop it. Kromski, Ashford, and Schacht are some popular spinning wheel companies that all make beginner friendly top whorl drop spindles. Any of these will do as long as they have enough heft to them. This spindle should not cost more than $30 on its own!
We have a kit that includes a drop spindle, some merino top (random colors!), and a tiny niddy noddy to help get you started. Our kit is priced a little higher as it includes a niddy noddy AND fiber to get started.
If you'd like to explore other types of spindles, I recommend Kravelli for a lower cost support spindle ($59+ for spindle + spinning bowl combo), and Snyder for Turkish style drop spindles ($21+).
For the wool, anything with a good amount of crimp will work. Merino is fine, but BFL (blue faced leicester) is better, because longer length of the fibers (also called staple length) won't drift apart as easily while you're at the start of your learning curve. Full disclosure: the kits we have are made in Poland, so they include some Polish Merino for your practicing, but we also carry some nice BFL in the shop.
Finally, I think a niddy noddy (shown below) is a must have because it's a lot of faff and trouble to make a hank of yarn without one, and you need to do so to set your yarn at the end. You don't have to have one, but it'll speed things up considering, compared to if you're winding these hanks on a chair or someone's arms.
If you're looking to start on a wheel instead, that's totally OK too. I drop spindled for 2 straight years before I switched to the wheel, and at least for me, all those hours working on my draft really sped up the learning process once I was on the wheel, but if you got an amazing deal on a wheel, more power to you.
What are the steps to make yarn?

So, to summarize, here are the steps you'll need to learn to spin:
- Find out what's in your budget and what style of spinning you want to do. Do you want to try a spindle? What kind? What about wheels? There's no wrong answers here.
- Attach your fiber to a bit of leader yarn, whether you make the leader or not, to wind on and get started.
- Add twist and draft, turning fiber into yarn in the drafting triangle.
- When you have a ton of singles yarn, learn to ply the yarn. You can totally use the same equipment.
- Wind the finished yarn off onto a niddy-noddy and set in water.
A note: You'll need that niddy noddy to wind your yarn off into a hank so that it can be finished in water. This allows everything to nestle into place, so that the yarn is stable enough to knit. For weavers, we often don't set our yarn before we use it, but you'll need to do so for knitting.
I'll cover these steps in more detail in this blog series. Next week, we'll cover how to make singles using a drop spindle.
If you haven't already, you can subscribe to my newsletter below this post so you won't miss out on future installments of this series. Additionally, you can shop our "learn to spin" kits by Kromski now.
Leave a comment
This site is protected by hCaptcha and the hCaptcha Privacy Policy and Terms of Service apply.