

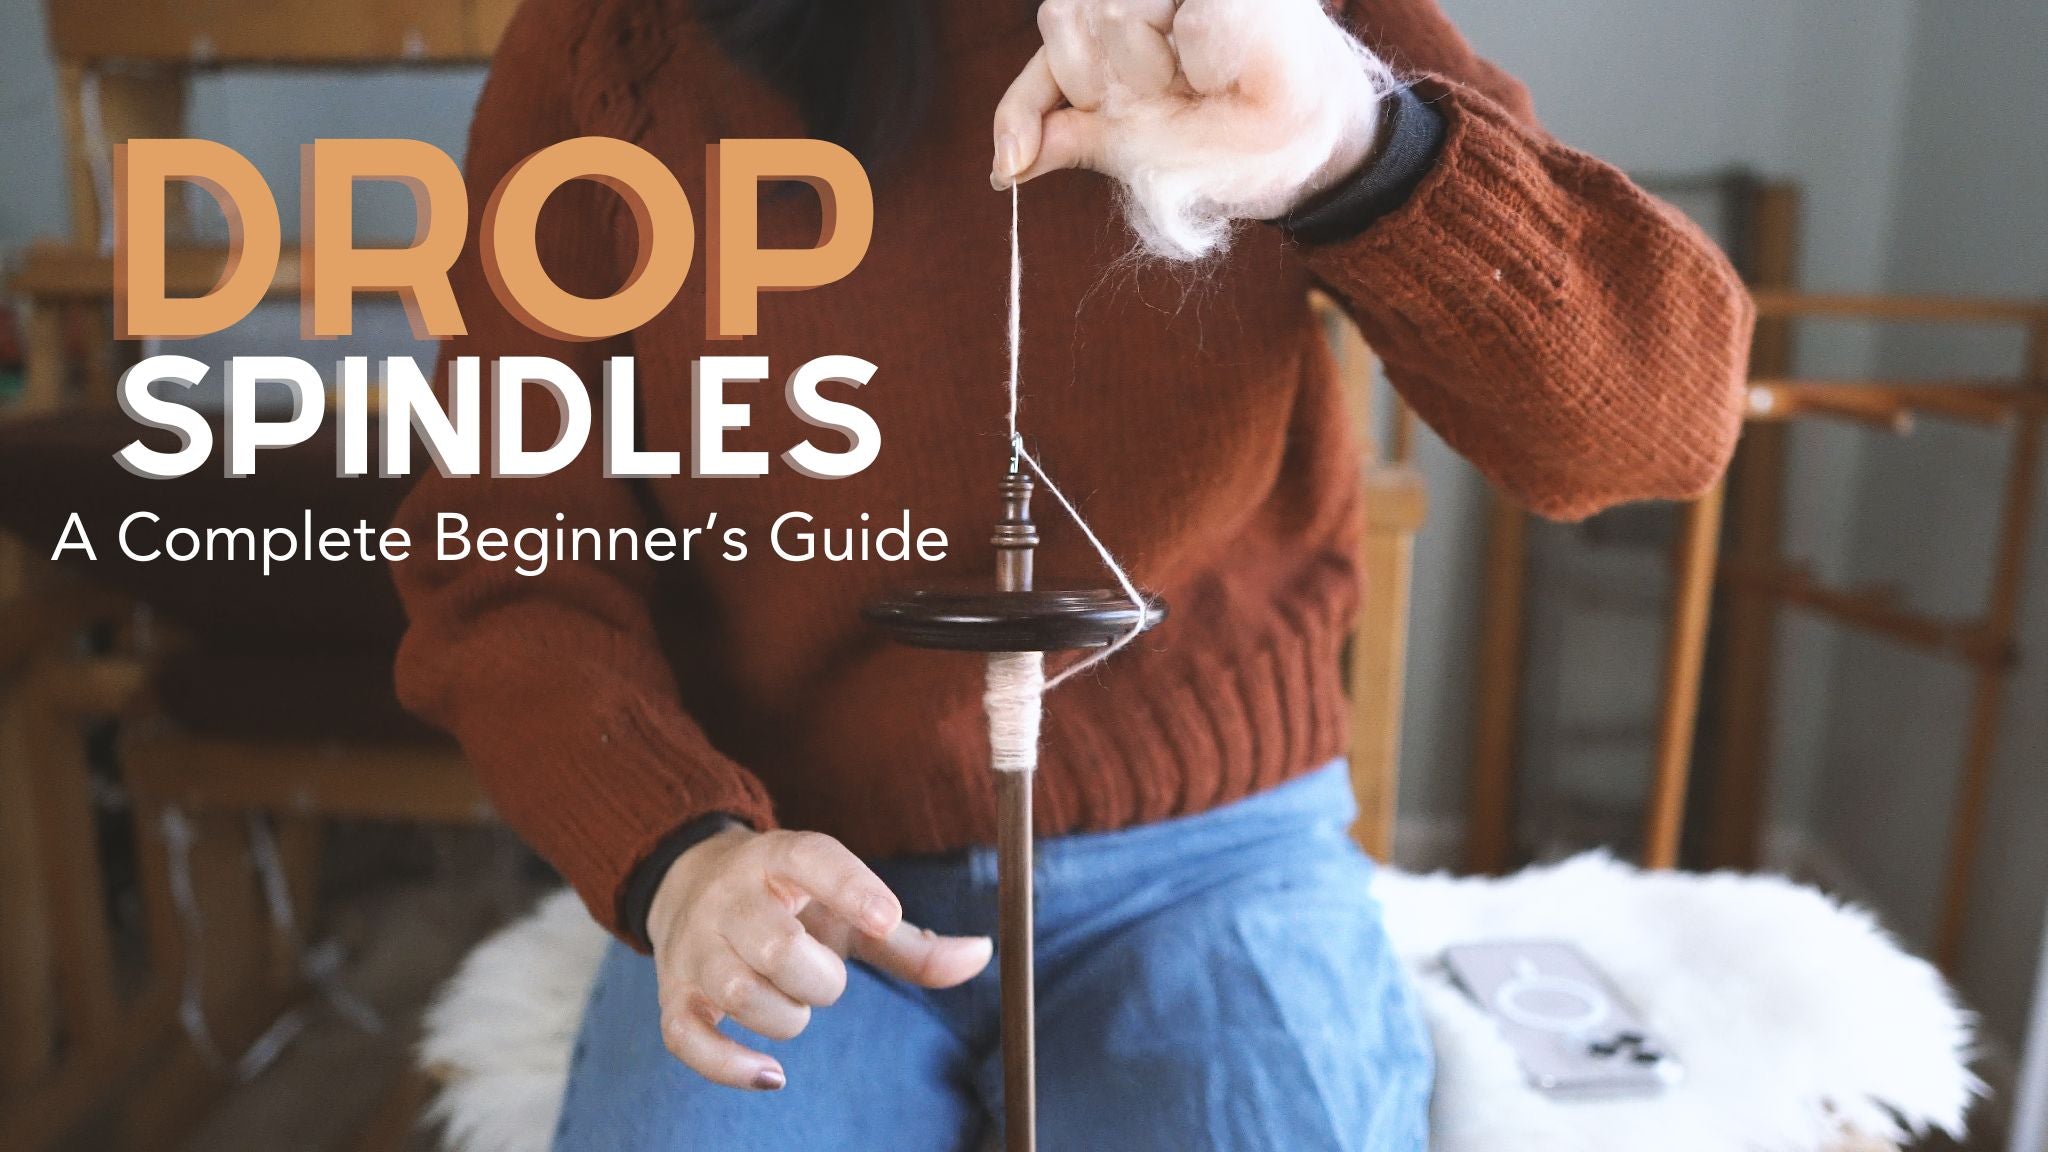
How to spin yarn with a drop spindle for complete beginners
Drop spindles are a simple and easy way to learn how to spin for complete beginners. It requires low investment so that you aren't spending a lot of money while you decide if you are gonna enjoy spinning or not.
Drop spindles don't have as many moving parts as a spinning wheel, and they are a great way to slow down and understand the physics and mechanics of how fiber turns into yarn.
I did only drop spindle spinning for a very long time before I switched to a wheel, and for a while I just didn't appreciate the drop spindle properly once I moved on to a wheel.
However, lately I'm really coming back to it and starting to collect more drop spindles (a real rabbit hole, if we're honest). Now, I'm really coming to appreciate all the different kinds of spindles there are, how relaxing and fun and portable spinning on a spindle is, and it's my goal in this series to give you some great resources on loving the spindle as much as I do.
Though there are lots of different types of spindles, drop spindles have really come into their own as one of the most popular ways to learn to spin.
So, let's get to making your own yarn today with a top whorl drop spindle. In today's article, we'll be covering how to make a singles yarn using a drop spindle. In my next article, we'll cover plying.
But first, what is spinning?
Spinning is the act of turning fiber into yarn. So, spinning. What is it? Spinning is when we add twist, kinetic energy applied on an twist angle, to fiber. This potential energy holds the fiber together, and allows it to be stable as a strand. A single strand of fiber that's been twisted into yarn is called a single.
Because this stored potential energy will want to untwist on you immediately to go back to a "neutral" mode, you'll need to secure the twist into the fibers somehow. This is done with setting the yarn (more on this in a later post), or but we can take it a bit further.
Most yarns we use today are also plied yarn, where we twist the single strands (called singles) together in groups of 2 or more, and twist them the other way. This counter twist holds all the fibers together and becomes a stable and sturdy yarn. And this is a great place to start for beginning hand spinners.
Now, there are different techniques, such as draft method, amount of twist, controlling thickness to make thicker yarns or thinner yarns, etc etc. But for now, just focus on getting some twist in fiber without dropping your spindle, and the rest will come eventually.
Choosing a spindle
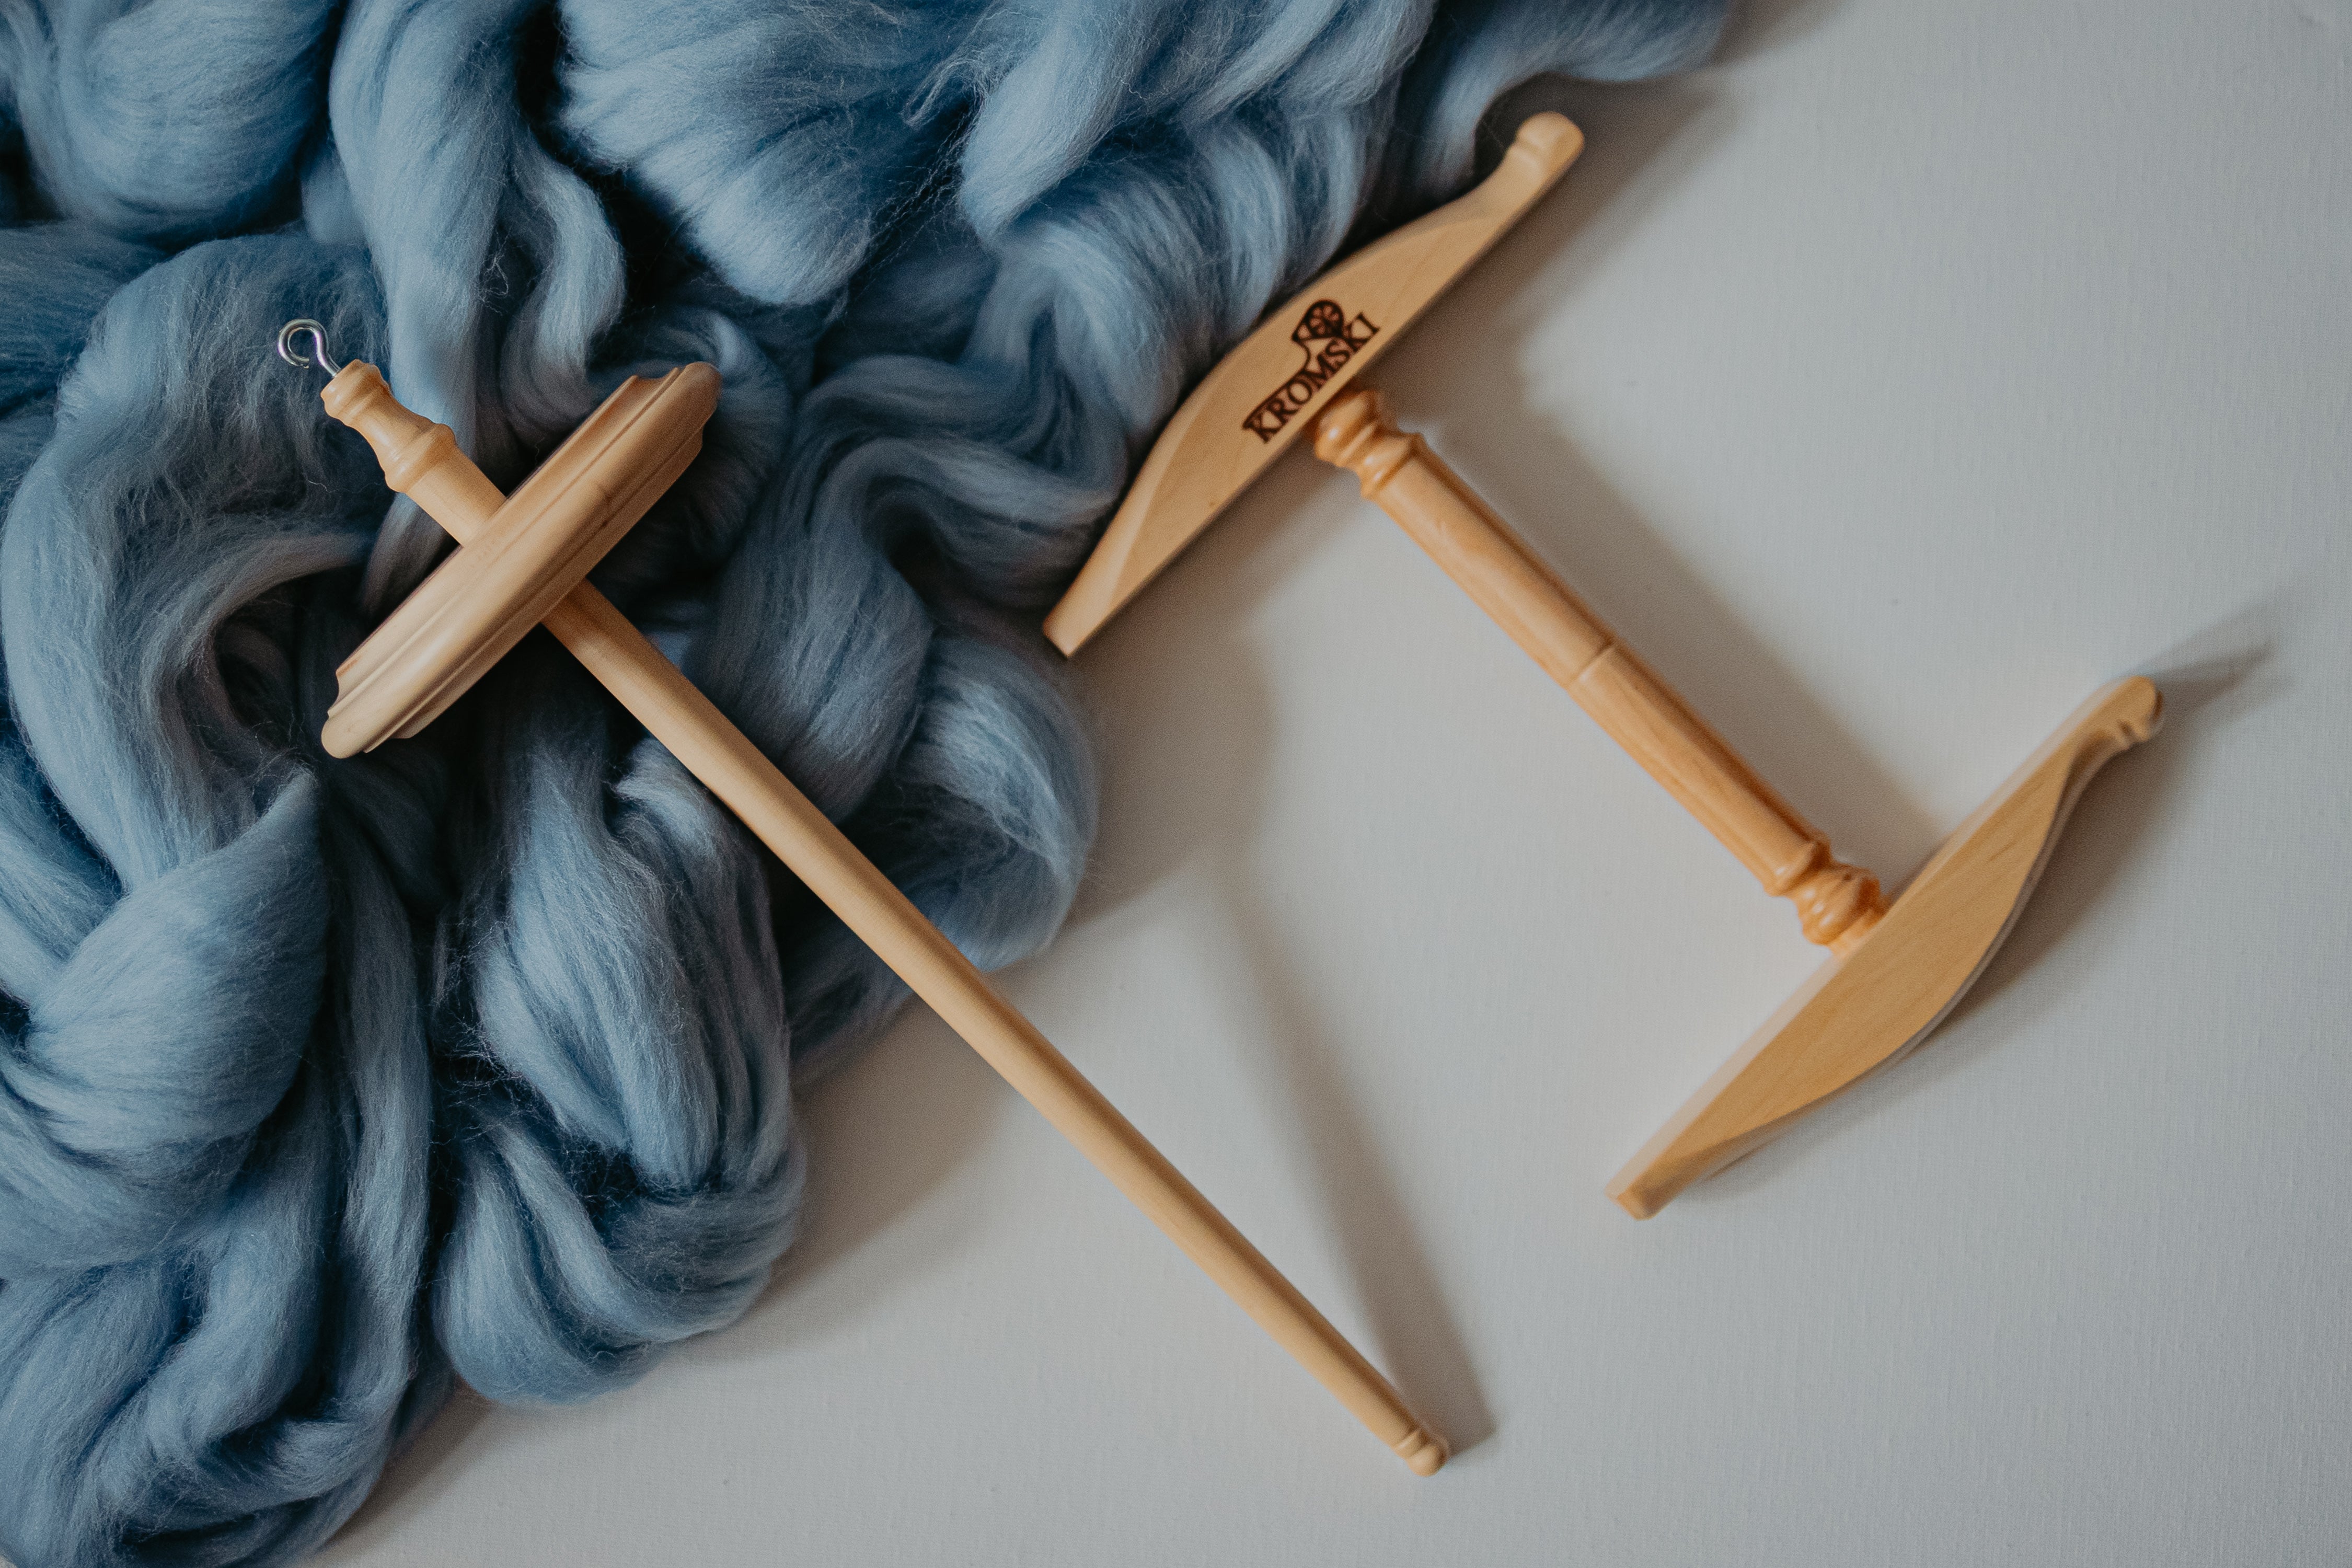
First, you'll want to choose a spindle. Today, we'll be talking about top whorl spindles. A top whorl spindle has the weight on the top of the shaft of the spindle, which is just simply the stick. You'll need a pretty decently weighted spindle. Heavier spindles will spin slower than lighter spindles. A fast spin will add a lot of twist to your yarn quickly, while a slow and steady spin will give you more time to draft until your muscle memory can handle the faster spin.
The weight of the spindle also impacts the yarn you're going to make. Thicker yarns require less twist to hold it all together, and thus are more suited to medium weight spindles or heavier weight spindles.Fine yarns require lots of twist added fast, but that does require the spinner to be able to keep up with the fast spin with their drafting speed. For finer spinning, you'd use a lightweight spindle. So, we're going to try working a thicker yarn today using a kit by Kromski from our shop. This kit includes:
- A hefty drop spindle. About 78 grams.
- The kit also comes with some merino wool fiber to practice with, and my shop also carries BFL fiber which is a breed that has longer staple lengths (length of each fiber when it's sheared) than merino, which makes it a little more beginner friendly
- The cutest tiny niddy noddy so you can turn your yarn into a hank for soaking and finishing. Just like with knitting, a yarn isn't finished until it's wet and settled. For knitters, this needs to happen before knitting. For weavers, historically spun yarn is woven, then finished as a piece of fabric in water.
Let's get to spinning!
We've included a video tutorial here in case you are a visual learner, but also included written instructions so you can follow along and come back to it as a reference.
Making a leader yarn
First, you'll need a "leader yarn," which is simply just the first bit of yarn you spin. You can use existing yarn for this, but I like to make my own to get a continuous strand. If you are on a wheel or you prefer to use existing yarn, just get a length of 18 inches / 45 cm or so of grippy, non-superwash yarn, and tie it around your bobbin or your drop spindle shaft (below the whorl) several times.

Pull off a staple length of your fiber. If this is a merino fiber, it's gonna be about 4 inches / 10 cm, give or take. If it's something like a BFL, it may be up to 5" / 12 cm. Now, with your dominant hand, pinch and pull out some fiber away from the main chunk, just a little bit. Pull it out a little tiny bit at a time until you have a skinny length attached to your overall fiber supply. It'll shrink and compact as you twist it, so you need enough strands to make a sturdy yarn but not so much fiber that it's hard to twist and hold together.
Now, take your skinny length of drafted fiber, fold it over in half to give your hook something to hang on to, and place it over and around your hook.
Pulling the fiber taut gently (1st pic, below), turn your spindle shaft in a clockwise direction and twist and twist until you have a decent bit of strength in this fiber. It has turned into a single of yarn. This creates a Z-twist, which is so called because the twist on the yarn looks like a Z when you look down on it. If you spin the other way, you'll have an S twist!

A word on twist: at this stage, a little too much twist is better than not enough twist. You need your yarn to be fairly firm and held together, stable enough to hold up the weight of your spindle, then I will draft the fiber out (meaning, pull it apart a little more to be less thick and so the twist can travel throughout the fiber. I continue this until I have a decent length of yarn (2nd pic, below):
Once you have at least 5 inches, or 12 cm or so, you've got your leader yarn, and you can start your spinning.

Making yarn with the "park and draft" method
Today, I'll cover the "park and draft" method, which just means that we will separate the fluid motions of spinning and break them up so that you can focus on one at a time. That is, we'll be spinning (adding a lot of twist), then we will draft (pull the fiber supply out so that it becomes yarn, and not just a thick twisty chunk). In two separate steps.
With your non-dominant hand, pinch the place where the yarn ended and becomes fiber, making sure it's secure in that hand. Still with the end of your leader yarn on your hook, with your dominant hand, hold the spindle shaft, whorl side up, between your palm and your leg. Roll it the same direction you twisted it before, clockwise. This means that your hand will be moving from closer to your knee, towards your hip, coming closer to you.
With this motion, let go of your spindle and let it drop. The twist you added to your leader yarn previously should hold the spindle up with its tension. Let the twist build up in this section for a few rotations. Before the spin has stopped, catch your spindle with your hand, or between your legs.
Hold the shaft between your legs, and use your now free dominant hand to go join your other hand to make the draft. Now, pull the fiber from the fiber supply, which will create a little triangle, called the drafting zone.
In this drafting zone, the twist will enter whatever fiber you let into the zone, pinched between your two hands, and turn that section into yarn. That is, the fiber will enter the drafting zone as fiber, and leave as a yarn single.

The thing about twist is, it being kinetic movement and energy, it'll move around if you let it. So, that is why we pinch at the start and end of the drafting zone and let your dominant hand slowly let through the twist a little at a time.
This is called a worsted spinning method--you'll probably get to long draw for woolen later, where the twist enters the fiber supply with no control from your dominant hand. You can see this action in the video below:
Anyway, this kinetic energy, twist, will continue to travel down for as long as you can still make a sturdy single. When you've used up all the twist you have created that you can (meaning, if you keep drafting, your yarn will just drift apart into fiber again because there's no longer enough twist to hold it together), you'll need to add more twist.

All you need for that is repeat what you did before--with your non-dominant hand, pinch where the yarn enters the fiber supply. Using your leg and dominant hand, give it a good twist and let it spin.
Then, you'll repeat the process until you run out of space vertically to both pinch the fiber supply AND catch the spindle (usually, this is when my spindle just about almost hits the ground while I have the fiber supply in front of me between my hands).
At this point, you'll need to unhook your leader from the hook, holding on to it at all times to preserve twist, and start making a cop. A cop is just the length of yarn that you've now wound up into a nice little spool on your spindle.
To start a cop, wind the end of your yarn onto your shaft and wrap it around itself a few times to secure. Wind the cop until you have 12" / 30 cm or so of yarn left, and then you'll find the notch on your whorl, run your yarn through that, and hook it up again.
Now you're ready to spin some more! And you're off! All you have to do is continue to repeat these steps.
Beyond park and draft
As you get more comfortable with the park and draft method, you can start combining the two different steps, and start drafting while you let the spindle spin free. Experiment with rolling the spindle against your thigh, or, you can stand and flick the spindle clockwise again between your fingers on the bottom of the shaft. This frees you up to stand and walk around and keep your body moving, and may be more comfortable to you.
IMO, park and draft is easiest learned sitting so you have your legs to hold the spindle while you draft with your hands. But as you become proficient and can draft while the spindle is freely spinning, standing becomes a little more comfortable. You can also try switching back and forth so that you aren't in one position for too long, which can prevent repetitive stress injury.
A word on building your cop: your cop will become part of the weight of your spindle, and it needs to be wrapped on firmly, evenly, but not tightly. You want the center of gravity on this thing to remain stable.
And anyway, that's it! You're on your way. You'll keep repeating this process, until your spindle is too full to comfortably spin (and trust me, you will know when this happens).
What's next?
Most commercial combed top comes in 2 or 4 oz quantities. Likely too much to fit comfortably on a single spindle. You'll need to move the yarn from this spindle to somewhere else to hang out while you make your next bit of yarn. I recommend doing this, so that you have two distinct balls of singles later to ply with rather than fussing with Andean ply bracelets or plying from a center pull ball.
So, when a spindle is completely full, the easiest way to move it is to put it hook side down in a mug or a vase, and wind the yarn off. You can wind this off into a center-pull ball with a nostepinne, or wind it into a regular ol' ball around a ping pong ball, dryer ball, or anything with a center.
You don't need any fancy equipment to do this last way. This yarn has a lot of energy in it and will want to tangle, it is a good way to stop your singles from twisting up. Just place your spindle, hook side down, into a mug or a vase, and wind away! If you have a ball winder, more power to you, you can use that.
Now, you've freed up your spindle, and you can proceed to spin the rest of your fiber. Be sure to continue to spin clockwise for a Z-twist. When you are all ready for the next step, you'll be plying with your spindle. We'll cover that on a future post.
If you'd like to read more about fiber, here are some posts you might like:

2 comments
Can’t wait for more!!
Danielle Gross-Ball
Can’t wait for more!!
Danielle Gross-Ball
Leave a comment
This site is protected by hCaptcha and the hCaptcha Privacy Policy and Terms of Service apply.