How to sew a buttons on knitting with a needle shank
Have you ever knit a whole cardigan, and finally, you are so close to finishing! You sew buttons on, and immediately, the buttons distort the fabric on your finished garment? I have. Surprisingly (at least to me), I did not learn how to sew buttons properly growing up.
Obviously, I needed to finesse my technique a little to get a clean result! Enter the sewn button shank, which is now the only way I ever sew buttons on every handknit cardigan and is one of my favorite methods for finishing.
Here's how to sew buttons on knitting without distorting it. You'll never go back again after seeing how neat the finishing is here.

What causes the warping?
Because hand knit fabric is thicker than most fabrics we sew with, we naturally have extra considerations to think about when sewing a button on them.
The warping seen below in my cardigan was caused by the fabric having nowhere to go under the button, and thus getting pushed outwards.

Naturally, you'll always have be a little bit of waviness on button bands. By working button holes into them, we’ve created an open bit of fabric without as much structure. However, we can minimize the distortion with one simple trick: sew buttons with shanks on them!
What are shank buttons?
A shank button is one with the shank built in, and is commonly seen on retail buttons designed for heavy fabrics, like coats. They feature a little stub on the back where the button hole is, and provide spacing between the button itself and the fabric, so that the other layer of fabric can lay in between nicely.

But you do not need a button with a built in shank to have a button shank! You can make your own using just the thread (or yarn) and your needle, which is called sewing a thread shank.
Materials needed
You'll need the following materials to work this tutorial:
- Main fabric yarn + a straight tapestry needle, or a sharp sewing needle and regular sewing thread
- Wooden buttons or corozo buttons. The holes of the buttons must be large enough for a straight tapestry needle if using yarn.
- Ideally, the buttons have a bit of thickness/weight to them to match the fabric they're going to be holding in place.
- An extra tapestry needle or similar object for spacing your shank.
You can shop our curated buttons for knitwear!
How to sew buttons with thread shanks
Step 1: Prepare your materials.
Make a knot on the end of the thread or yarn, making sure it's a large enough knot that it won't pock through to the right side of fabric. You'll need at least 24" / 60 cm of yarn or thread, and a second tapestry needle to act as a spacer for your shank.
Step 2: Secure the thread.
Making sure to leave a few inches of tail, I push my needle through the wrong side of fabric to the right side of fabric. Sew a few tiny x's through the fabric to make sure the end is well anchored, making sure to leave enough of a tail on the inside of the button band to tie up later.

Step 3: Sew buttons
Sew button, almost as normal. You’ll need space on the stitches between the button and the fabric, and I achieve this by placing a thick tapestry needle on top of the button to create this extra thread space. I will pass my needle over it every time I loop through the button's holes, to make sure the'll be enough extra slack.
Step 4:
After I’ve sewn through each hole a few times, we'll reinforce our shank! Starting with your thread or yarn on the wrong side, push the needle through the fabric but not through a button hole. You want that needle to emerge between the button and the fabric, on the backside of the button.

Remove your place holding tapestry needle, while simultaneously being careful not to pull on the thread to remove all that extra space you just made.
Step 5:
Now, wrap the thread, in the space on the back of the button around that extra yarn you created, 3-4 times. You want to wrap until this shank is reinforced and can hold up to wear.
Check and test the shank—look under the button and make sure there’s ample space there for your fabric thickness. It'll look something like this:

See your smooth results... plus some more tips
Finally, you’re done! You can see in the below picture how much smoother the button band looks when buttoned up. That's the result you want when you sew buttons with a shank!
Of course, this being a knit project, you'll always have a little bit of warping, particularly where the button hole creates space and less knitted structure.
Overall, if you sew your button with a good sized shank, you'll minimize further warping and get a more smooth button band.

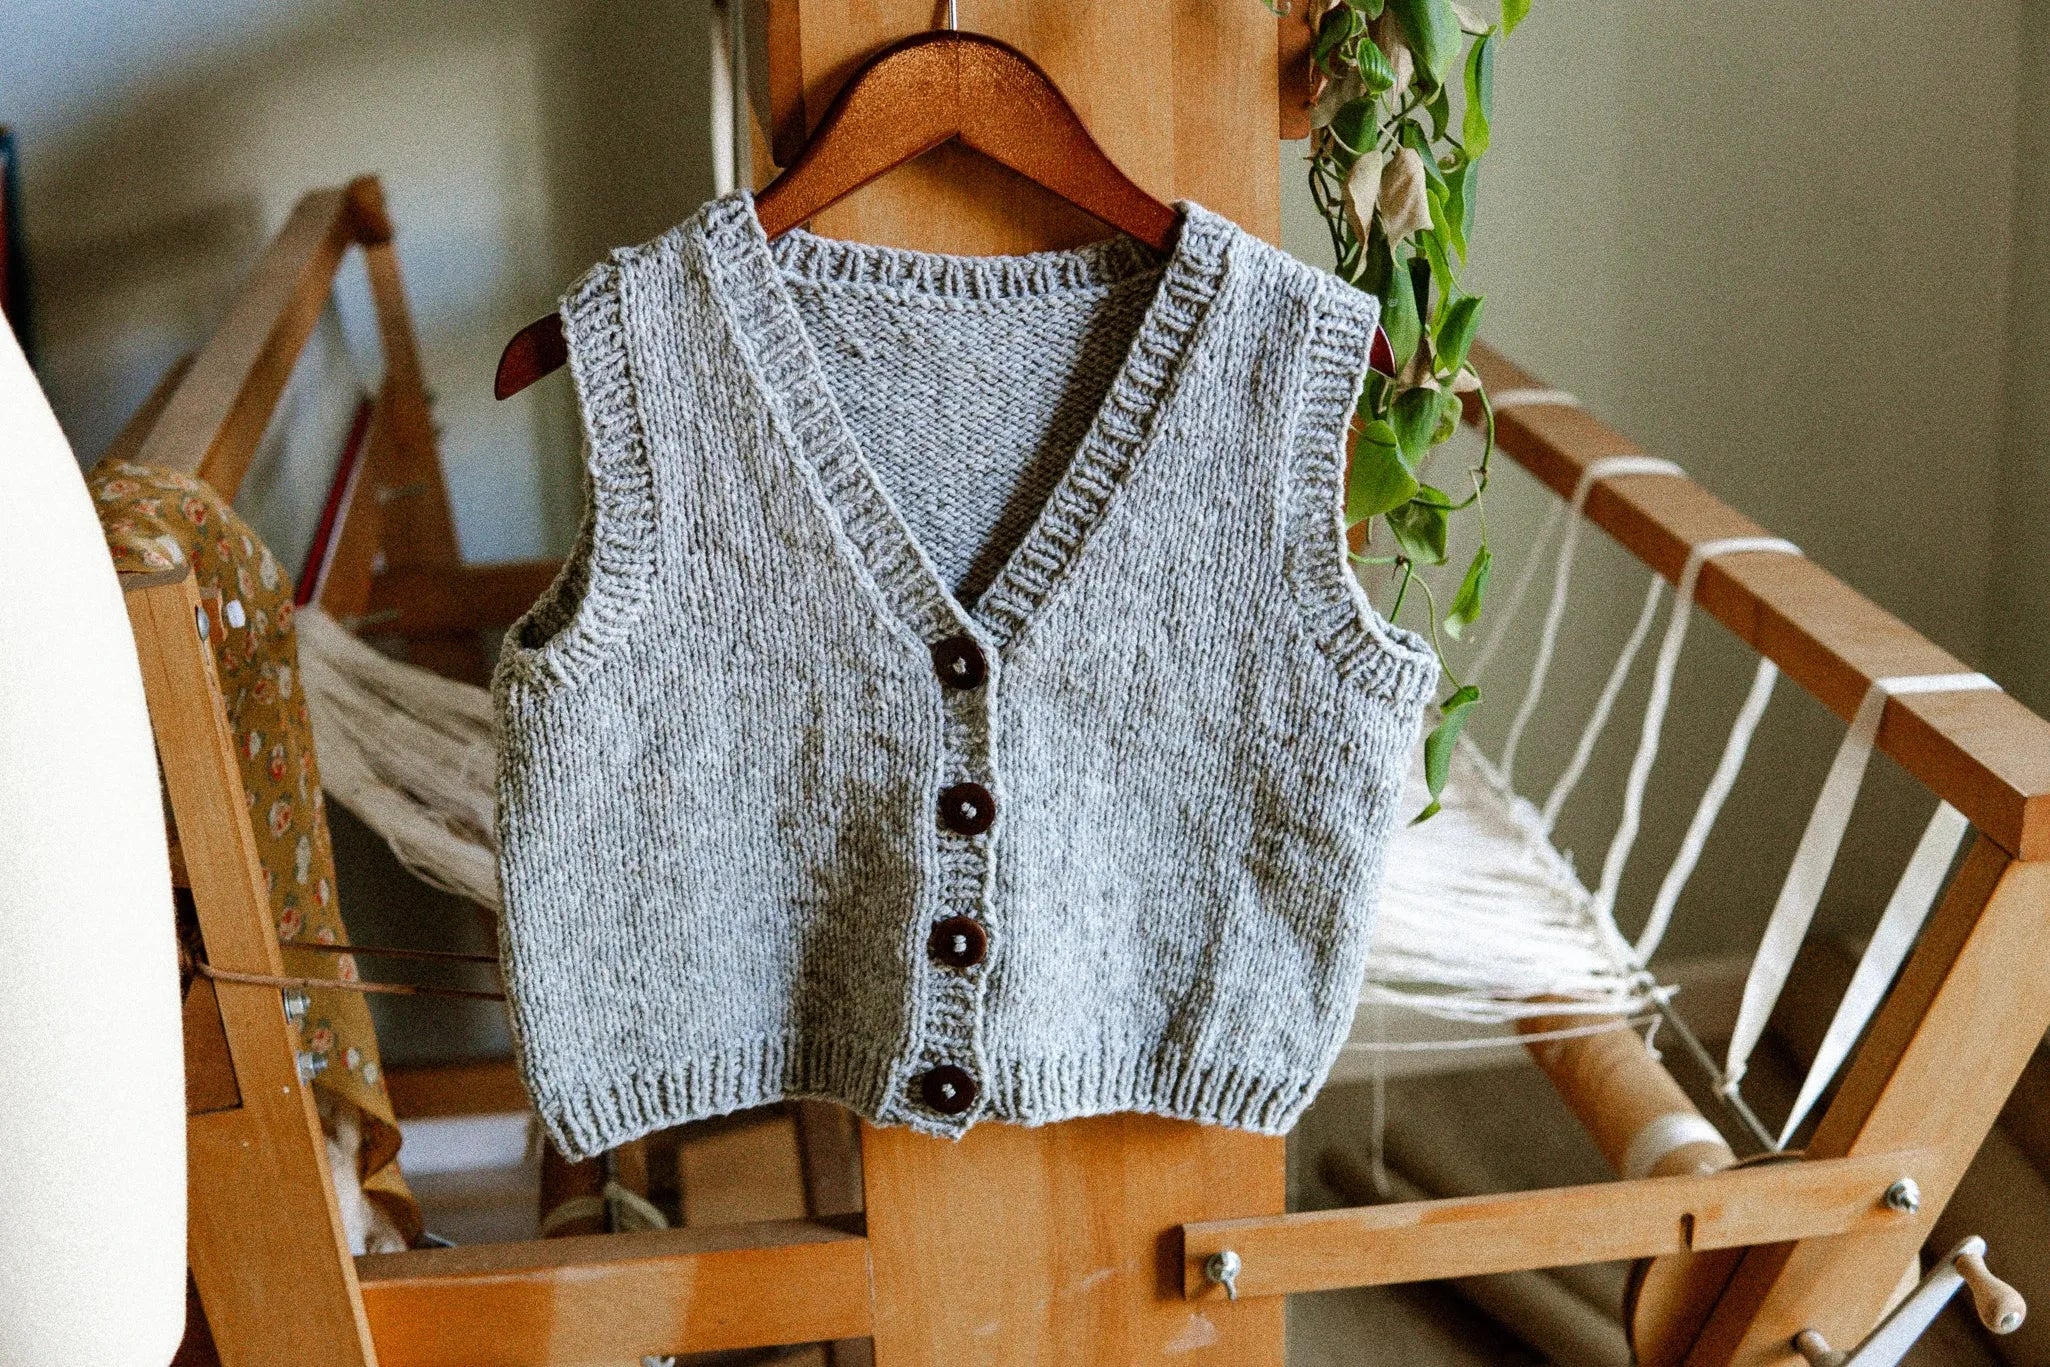
The pattern featured in this tutorial is Campus Vest, a buttoned vest for grown ups.
Just a few more tips...
Consider a backer button or felt
Are you looking for extra security, or you’re worried your knitted fabric will not hold up to the wear and tear of the button? Is your project worked up in superwash yarn that’s slippery and it’s hard to secure the ends? You might want to consider a backing.
A backing button, or sometimes just a small piece of felt, is used on the wrong side of fabric. And it can really help create structural stability for your outside-buttons. You simply sew through them (while still making that button shank) to create something for that thread or yarn to pull against during wear.
You can read a tutorial for backing buttons and felt at Modern Daily Knitting.
I’ve had good luck with buttons both with or without a backing, but my felt-backed buttons are very hard-wearing and will likely last a lifetime.
Too bad that’s the cardigan that has the improperly sewn shanks, though! Which leads me to my next point…
It’s way harder to make a shank with thread than yarn
When you use backing felt, you necessarily need to use a sharp needle to sew through it. This means you need thinner thread that goes through this needle, which is what I did.
What I didn’t account for is that you need waaaay more wraps using thinner thread under the button to make the shank. And that’s exactly where I went wrong.
So you’ll need to experiment with the materials you’re using to make sure that you’re making the shank long enough. You may need to sew your first button a few times, but once you get the first one right, you’ll be off and running.
And future you will be so glad you did. You will truly enjoy a thoughtfully, carefully finished knit object that’ll last you years and years.


Leave a comment
This site is protected by hCaptcha and the hCaptcha Privacy Policy and Terms of Service apply.