Knitting compound raglans: get your best raglan sweater fit
In the last blog post in our series about raglan fit, we'll go over some of the advantages and disadvantages of the compound raglan construction. Compound raglan construction has quickly become my favorite (and pretty much only) way to make a raglan sweater. This construction is versatile and can be used to get exacting fit on long sleeves and raglan t-shirts alike. The Raglan t-shirt gives a really classic look as well!
I've spent some time in the past on my Instagram page talking all about the basics with you, but wanted to make sure it's in a format you can refer to in the future. Plus, I wanted to go a little more in depth too. :)
Read on to find out about compound raglans and why I love them for getting a perfect fit!

What are compound raglans?
Many of my raglan shaped patterns feature a compound raglan. If you are new to them, this is the explainer for you! For this article, we'll use a top down sweater as an example since today, so many folks knit plain raglans top down in the round as their first sweater. At its core, a top down raglan construction is when you cast on stitches for the sleeves and the front/back of the body at once, and then increase at each edge of each of these pieces in an even increase rate, until we get the finished measurement in the chest circumference.
Usually, we'll see every other row/round increase rates, for a total of 8 stitches increased each time you work the increase row or round.
This results in a raglan yoke that continues to get bigger at an even rate until there's enough room in each section for your arms and your body.

All compound raglans are this exact thing but with variable rates of increase. You might see the rate of increase be every row or round, or even every 4 rows or round in different sections of the same raglan yoke.
Additionally, you'll also see variable rates in which sections you are increasing. Sometimes you may see a sleeve only increase, or a body only increase.
Why are we bothering with all this?
I promise that compound raglan construction is totally worth it, and let's get into why.
But a traditional raglan construction increases the arms and the chest at the exact same rate, 2 stitches per piece, every increase row. This means that on the extremes of a size-inclusive size range, you'll get some weird things happening!
Some of us have boobs, you know.
The first and, to me, simplest reason for a compound raglan is that I get to decide what width to knit the front and back of my sweater to! For people who have boobs, this is critical to a good fit. In most of my more recent raglan designs, I've used this to great effect to add fabric to targeted areas.
The "pattern pieces" for the front and back panels can vary on a compound raglan with different rates, meaning we can make front bigger than the back! On my patterns where this is a feature, you can also choose to omit the extra front increases if you prefer a flat fit.
What compound raglan does for sleeves.
Arms don't increase 30" across a 30"- 60" size range the way that chest circumferences do. The upper arm goes from about 9.75" / 25 cm to 18.5" / 49.5 cm, about 9 inches of change, while the body has changed 30" / 76 cm. See the source for this on a commonly used knitting body standard chart on Craft Yarn Council.
So, if we are increasing the same way all the way around every single time we increase, we'll run into trouble.
On the lower end of the size range, you'll arrive at the desired body stitch count sooner than you do for sleeves, and now the sleeves are too small.
On the middle to large end of the size range, you'll end up arriving at the desired body stitch count way later than the sleeves, and end up with enormous sleeves.
Both of these ends results in a very different fit for different people in the size range, meaning that the pattern will not look consistently graded for everyone and, in the largest and smallest sizes, your finished objects will look nothing like the sample size (assuming the sample size is in the middle somewhere).
This problem will be amplified the most at the top and bottom of the size range, and having a drastically different top of the sleeve and top of the body cast ons won't really mitigate the issue much. Plus, now we are running into the issue again that aesthetically it'll look too different in different sizes.

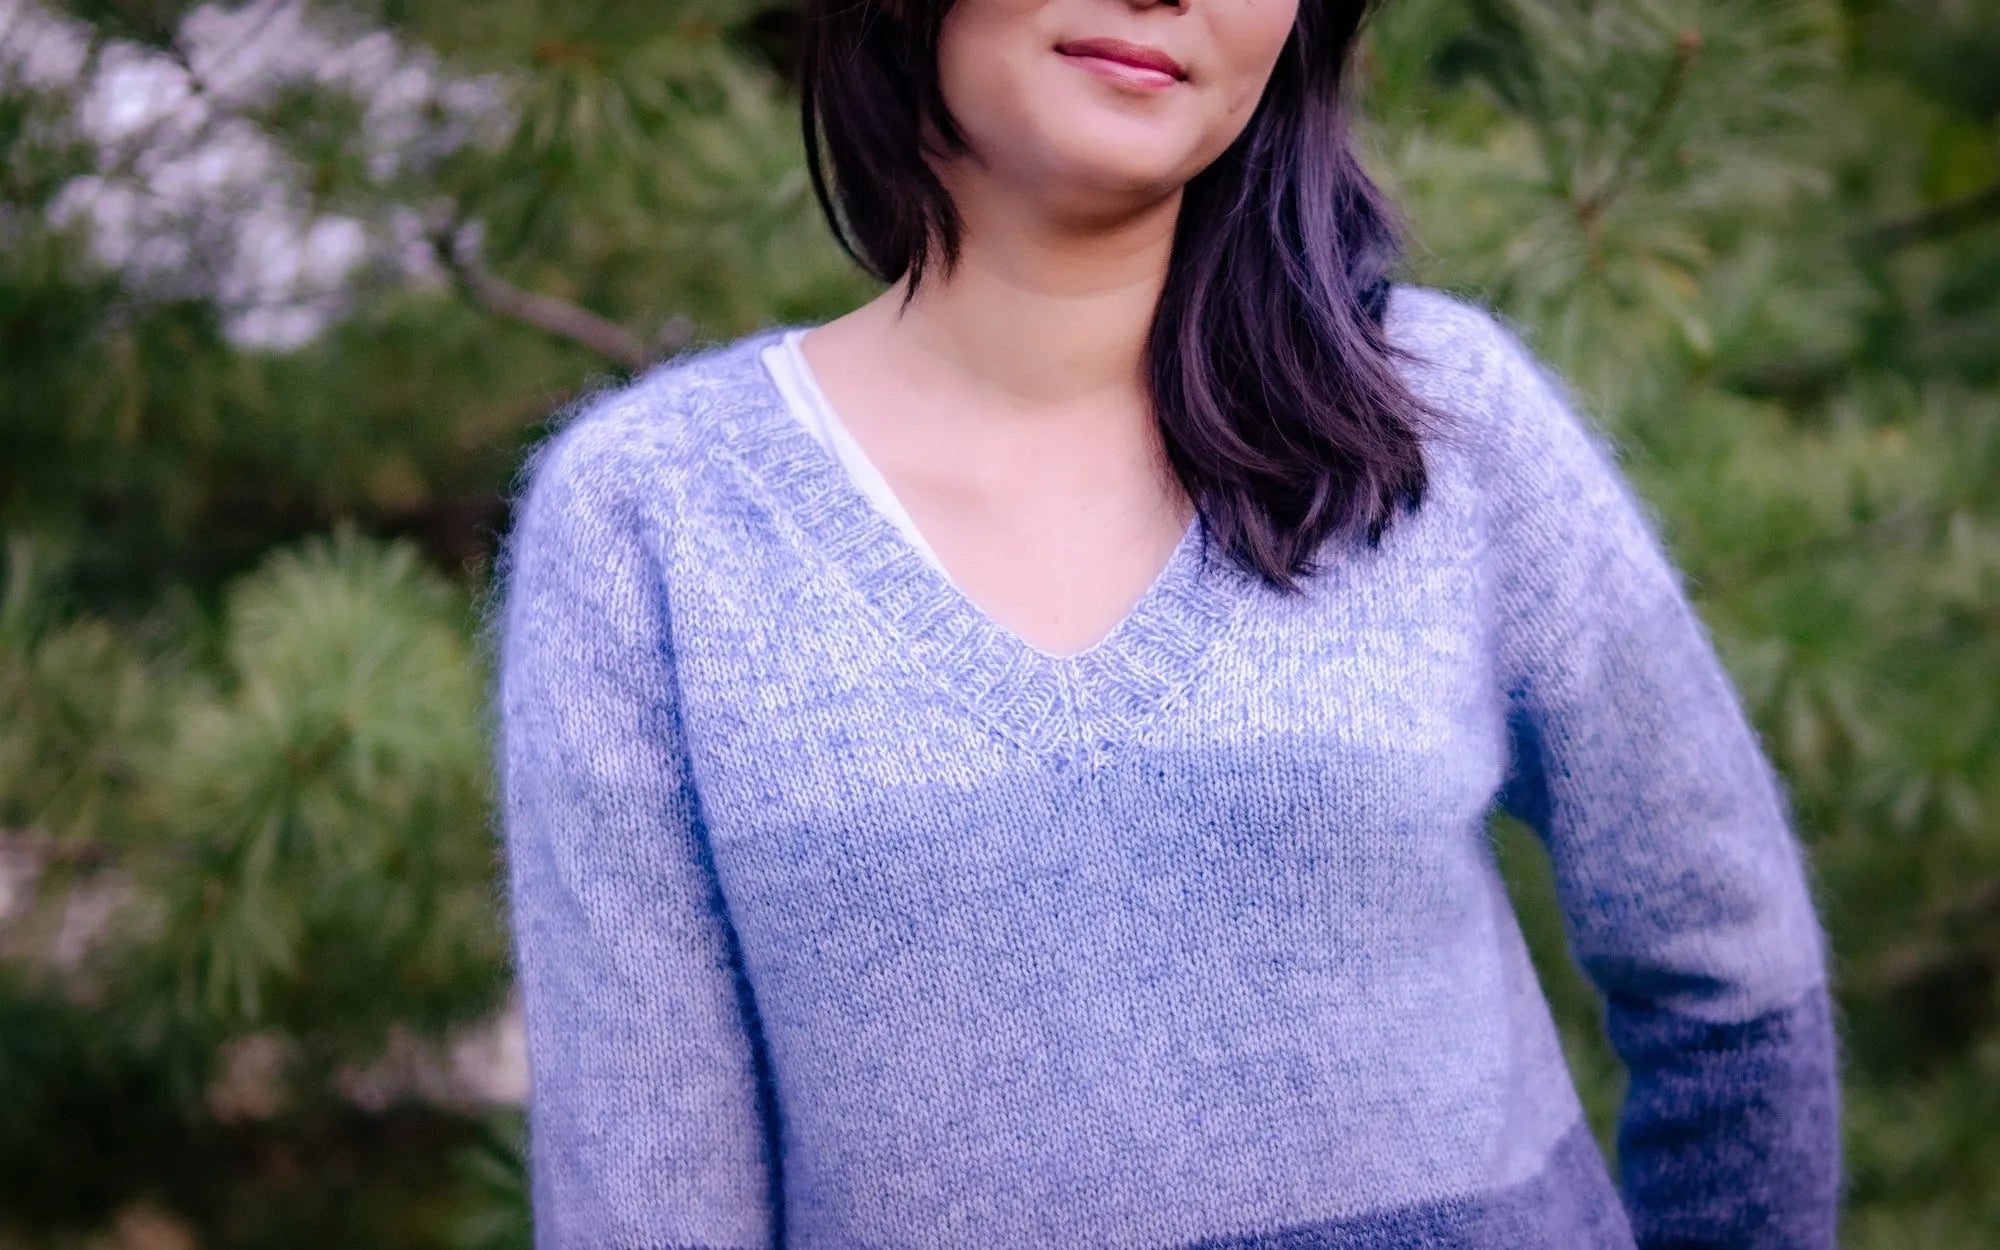
Pictured is Mia, wearing the Hibernate Pullover in size D.
Compound shaping that has varied body and sleeve increase rates, adding only body sleeve stitches occasionally throughout the yoke, you end up landing at the desired positive ease for each section and no more.
What compound raglan does for the upper torso.

I'm wearing the Friendship Pullover in size B here!
We are not a straight line from our neck to our underarm. Our bodies get wider quickly from the neck to the shoulder, then again closer to the underarms. It doesn’t just expand at a 45 degree angle all the time.
We need variable increase rates from top to bottom of the raglan too, to quickly increase from the neck to the shoulder, then a slower section, then a quicker section from the upper bust to the full bust.

The compound raglan sections on the Weekday Pullover/Dress.
When this is done right, the compound raglan line not only fits and flatters the upper torso more without odd stretching, but I
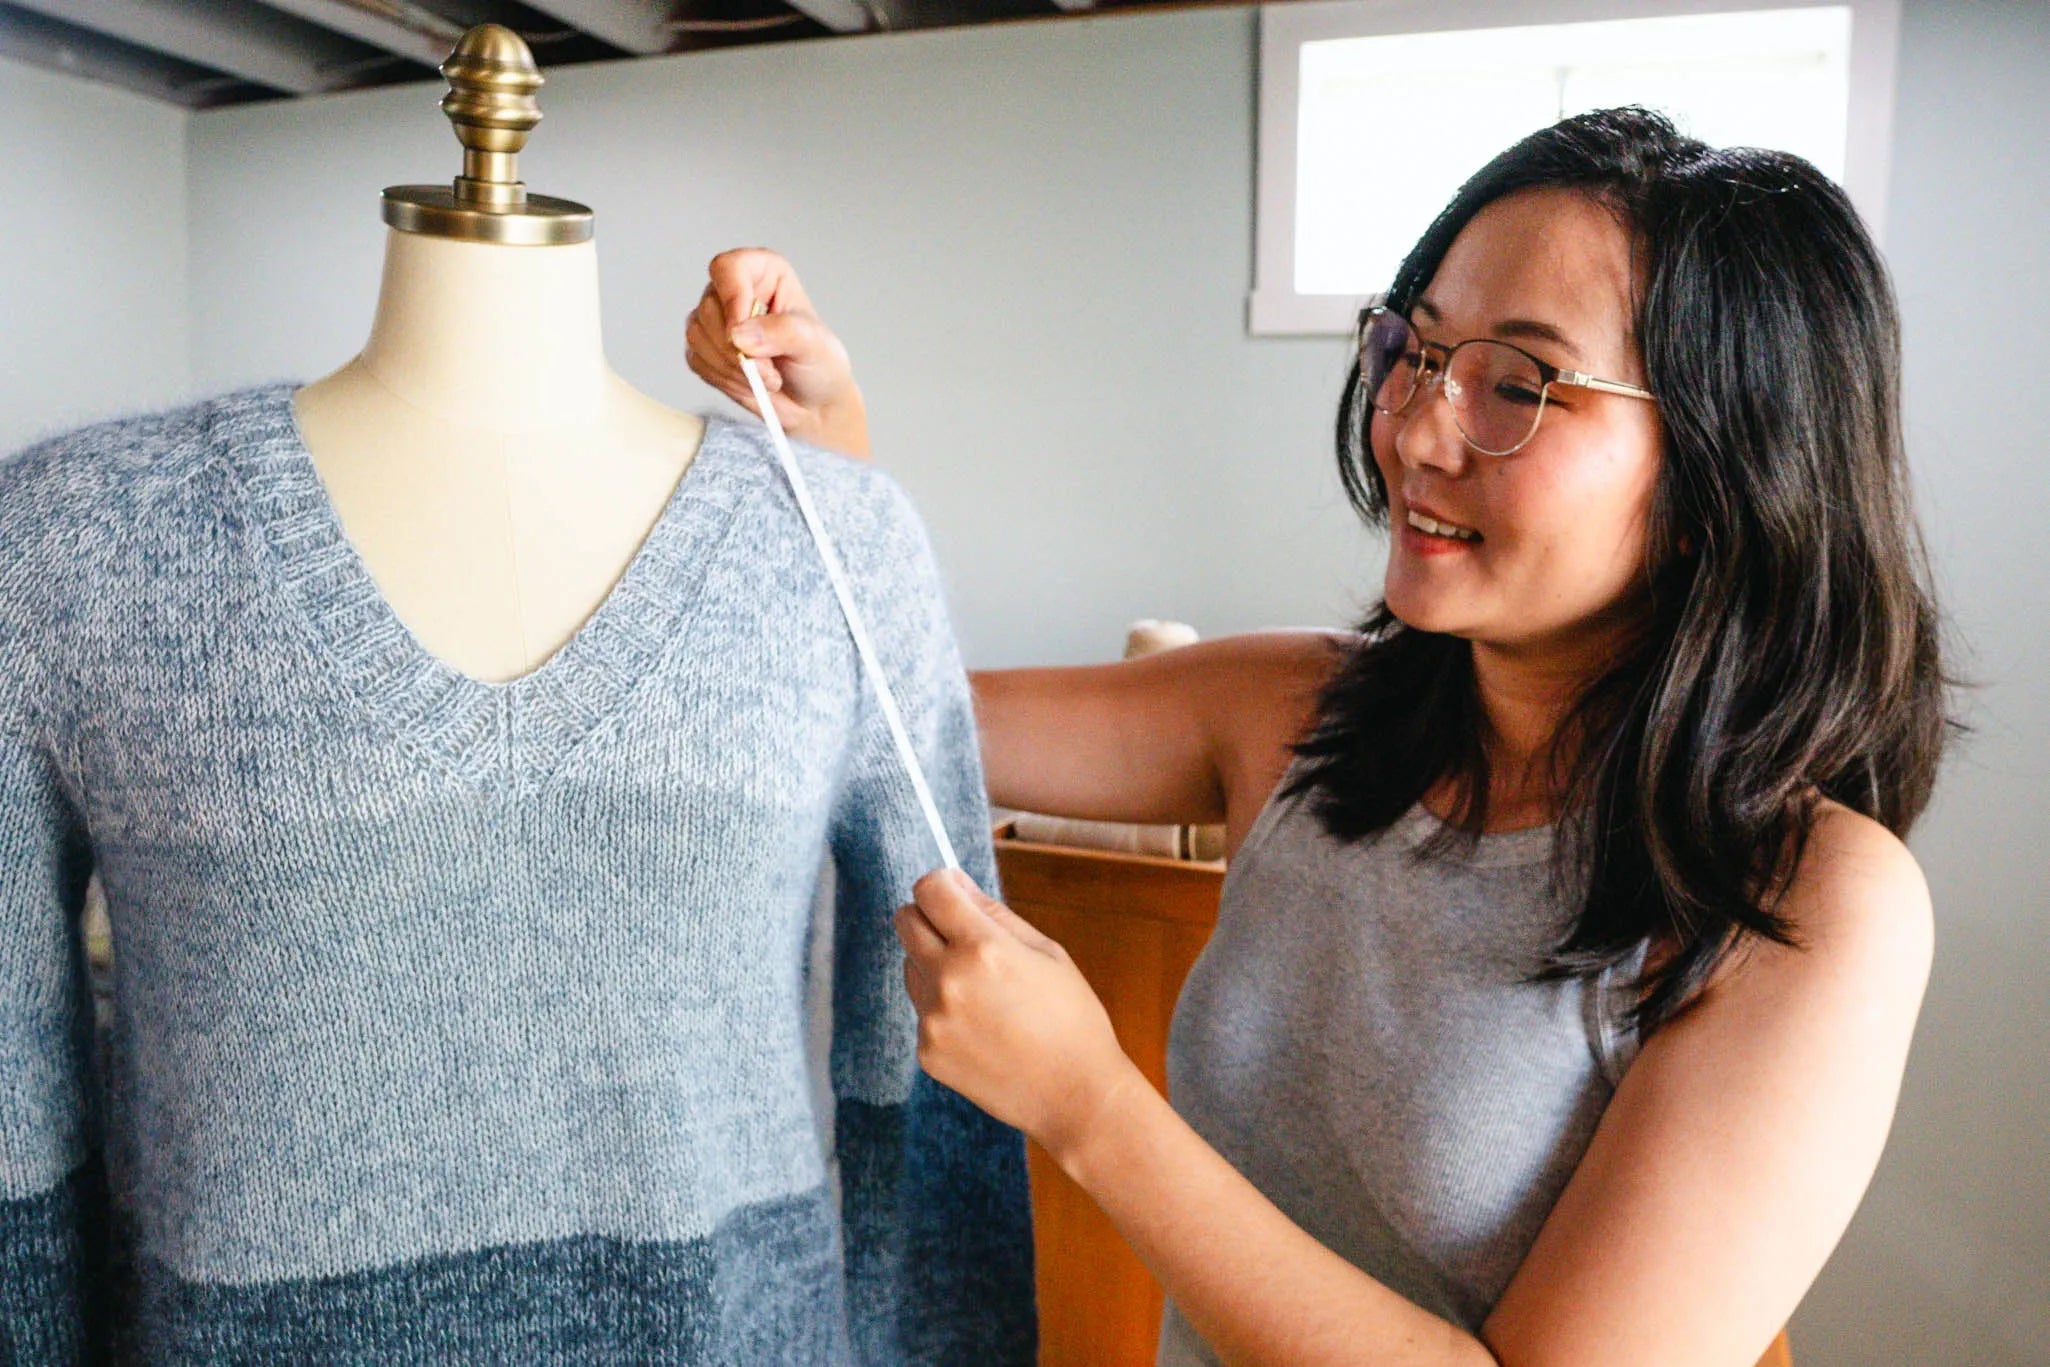
For me, this technique really shines in the raglan shirts that have a light fabric weight, such as fingering weight. The Slightly Sassy V is a stylish spin on the v-neck, raglan tee, and is a great example of this (shown below). The curvature in the underarm here almost mimics a set-in sleeve for a truly comfortable fit.

What are the downsides of compound raglan shaping and how can we lessen them?
All this compound shaping has to happen at the same time as front neck shaping, because our necks don't stick straight up out of our torsos, so we need a little more room cut out in the front than the back.
Sometimes my patterns achieve this with knitting back and forth flat for a while, and sometimes I utilize short rows at the same time as raglan increases.
And sometimes, when the neck shaping written separately from the variable raglan rates goes on for a long time, like in a V-neck, it can become really hard to track.
If you are new to my patterns, don't worry. All of my patterns are written to clearly spell out every step and all the hardest parts have been done behind the scenes, so that at each skill level, they are written to be super usable.
Ready to try the compound raglan?
Here are all of my raglan patterns and how they differ:
- Coloring Book Raglan is a straight raglan, with just a few work every round increases at the very end. This is not a compound raglan and is suitable for beginners, and comes with 3/4 sleeve or long sleeve options.
- Coloring Book Tee is compound raglan with a close crew neck, knit in fingering weight. This one is suitable to those who don't want to work back and forth too long, because it only has a bit of short row shaping.
- Hibernate Pullover is for advanced beginners who want a V-neck and a more advanced fit, but don't feel like working "at the same time" instructions. All of the compound instructions and the V-neck are written together in 4-row repeats, so that you don't have to track it yourself. But just in case you want it, there's a raglan tracker with stitch counts per row attached to the pattern so you can really keep track.
- Slightly Sassy V is a compound raglan tee/pullover with V-neck. This slim fit raglan tee is written with "at the same time" instructions for the raglan rates and V-neck, and comes with a row-by-row raglan tracker to help you keep count, and has an alternative instruction sheet that is a page per size for you to knit to once you get going on the first few rows.
Want something more interesting than these four basics? You can check out all of our raglan patterns in one place, or the patterns with only compound raglan.
I hope that this helped you visualize how the compound raglan can help you, and that you can give it a try!


2 comments
Thank you for sharing. I have stayed away from raglan sweaters because I like using sewing sizing techniques on my knitwear. Which is why I like knitting flat in pieces or in the round with set-in sleeves. The technique you’re describing makes sense. I will be incorporating in them in a cardigan I’m about to start.
Janet Gale
Absolutely fascinating and makes total sense. Thank you so much for spelling this out! I saw your post on threads about this and had to come read!
Aditi Chang
Leave a comment
This site is protected by hCaptcha and the hCaptcha Privacy Policy and Terms of Service apply.